Start
After Basic Fins, Scanner, Portable Storage, and Basic Battery.
This route starts from the Angel Comb landmark, turns into the two-light cave, follows the black cable to early Silver, then continues to the red hatch for Colonist Bunker 1. The payoff is strong: Silver for Standard Air Tank, Repair Tool progress, S Shelf, Trashcan, and the BioBed quick-slot upgrade.
Reviewed .
After Basic Fins, Scanner, Portable Storage, and Basic Battery.
Angel Comb route, southwest 220 degrees, then west 270 degrees along the black cable.
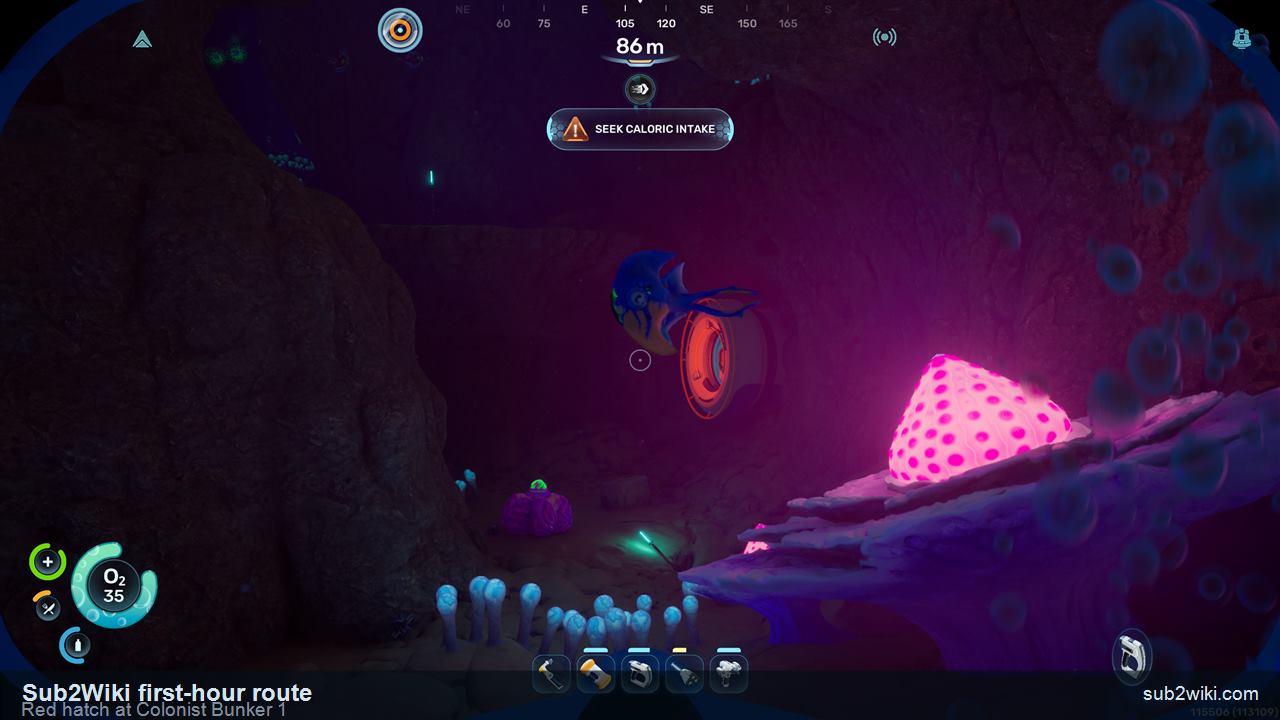
From the Silver cave oxygen point, face northwest around 330 degrees toward the red hatch.
Two Silver, Repair Tool progress, S Shelf, Trashcan, BioBed sixth quick slot, and 75 oxygen after crafting the tank.

Begin after Basic Fins, Scanner, Portable Storage, and a Basic Battery are handled. Face north-northeast around 30 degrees toward the Angel Comb route, surface first, and treat this as a focused Silver and bunker trip rather than a general exploration swim.
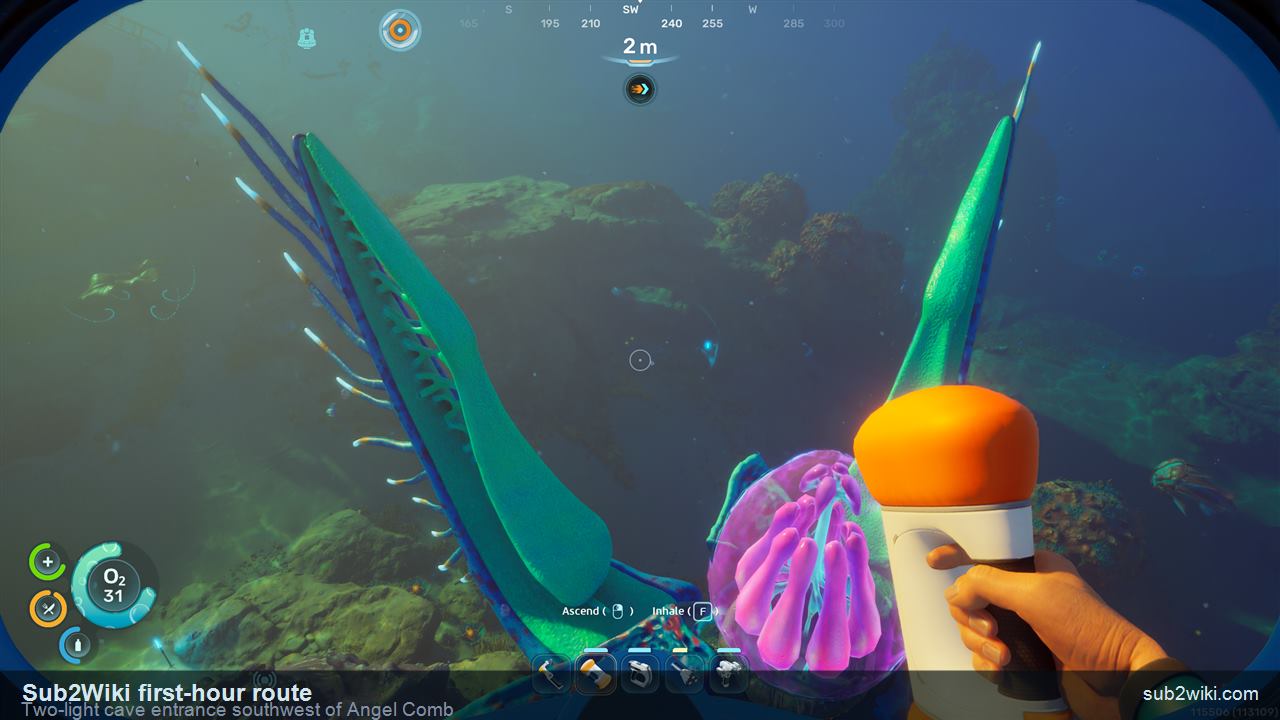
The two lights are the cleanest visual check for the first cave. Inside and near this cave, scan the Wakemaker and Beacon objects if you have oxygen margin, then pick up the Portable Storage and Copper Wire before following the next landmark.
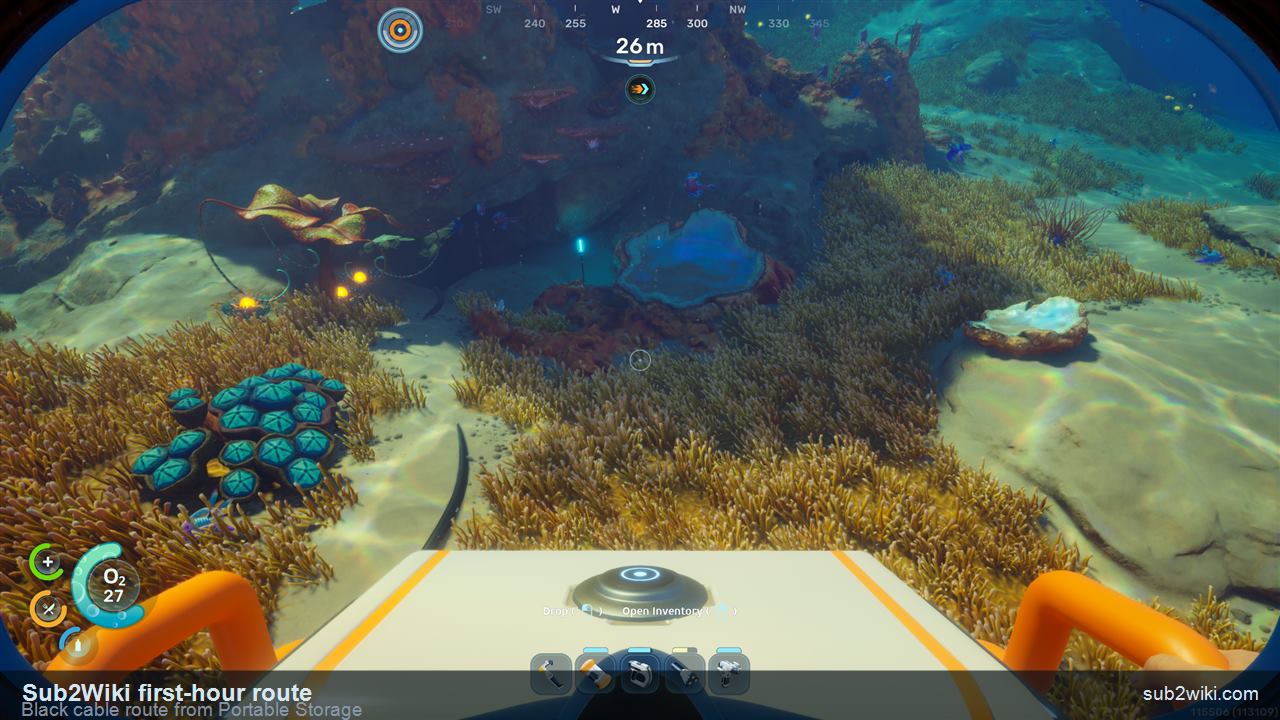
From the Portable Storage area, face west around 270 degrees. The black cable leads to the next cave opening, so use it instead of trying to memorize every rock shape. If oxygen is already uncomfortable, reset before entering the Silver section.
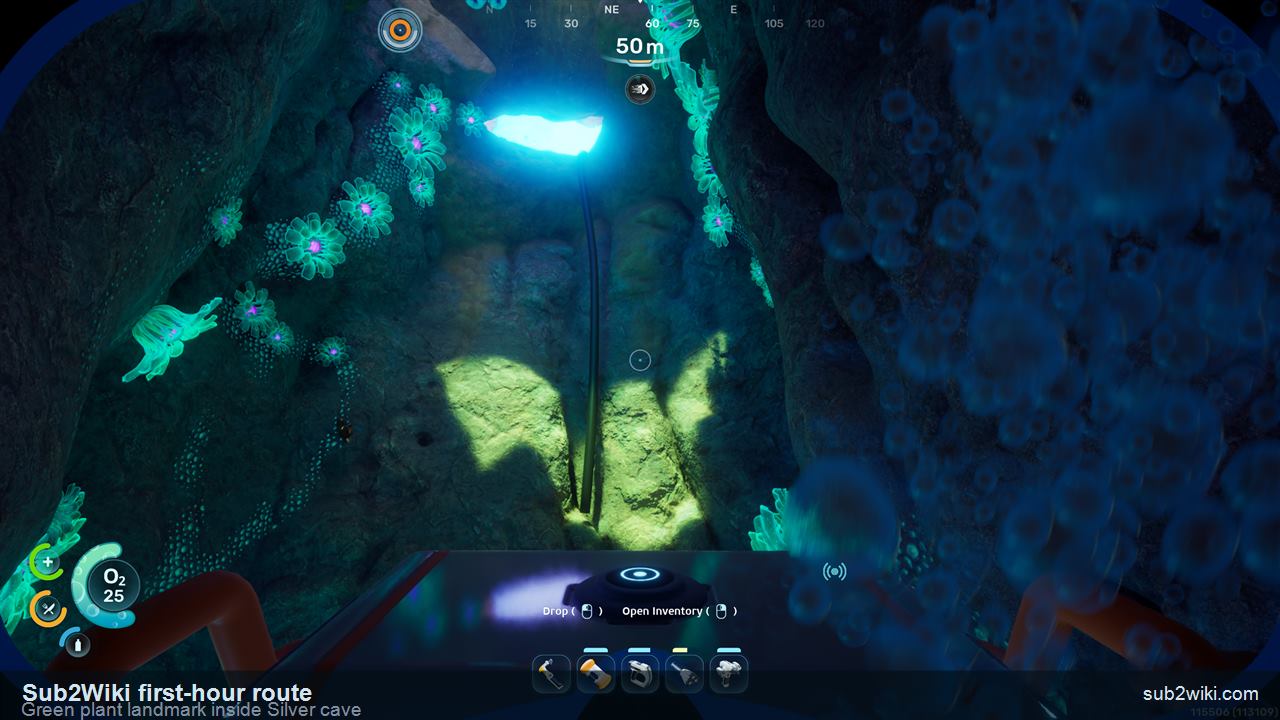
After the black-cable entrance, look upward for the bright green plant glow. That landmark is your cue that the Silver route is correct. Descend carefully, pick up the Basic First Aid Kit, and keep your exit plan simple.
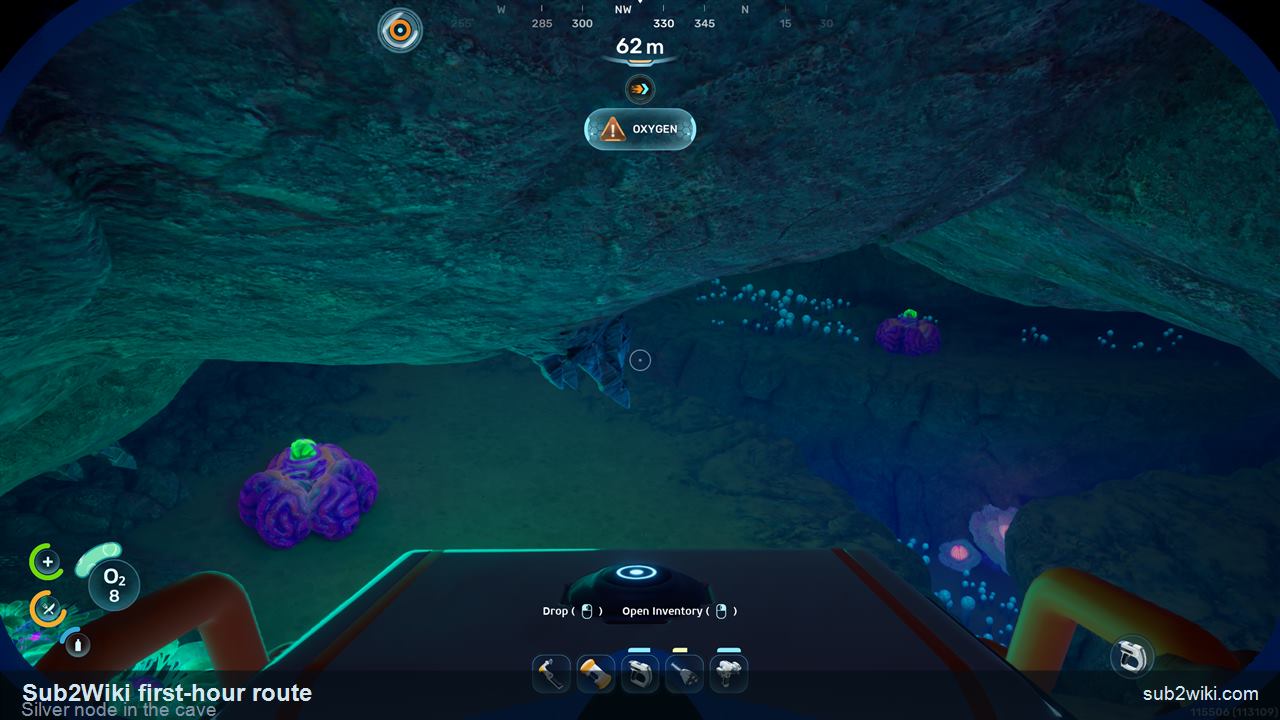
The Standard Air Tank needs two Silver, so do not leave after only one piece. The cave also has Copper, but prioritize Silver first. If oxygen is tight, move to the nearby oxygen point, recover, then make a second pass.
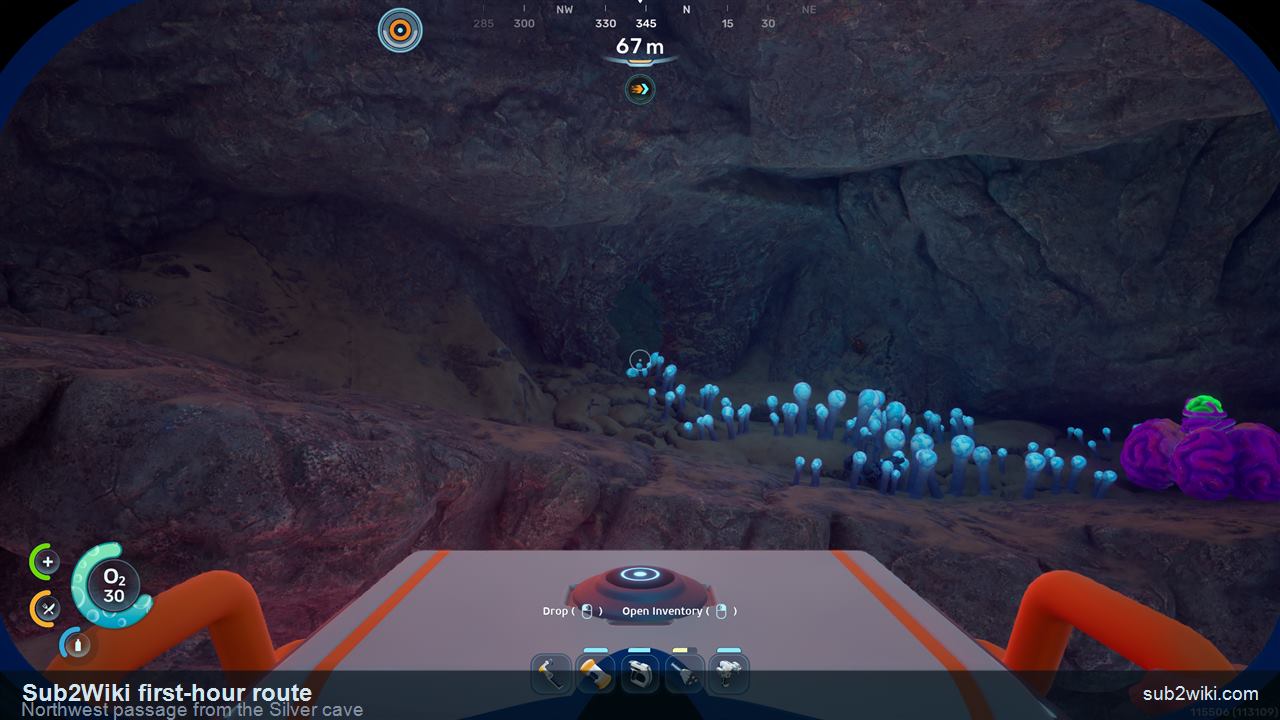
From the Silver cave after an oxygen reset, face northwest around 330 degrees. Stay compact and look for the red hatch in the mid-80 m depth range. If the tunnel stops matching this description, return to the oxygen point and line up the passage again.
Inside Colonist Bunker 1, scan the Repair Tool on the desk, the S Shelf on the wall, and the nearby Trashcan. The Repair Tool scan is progress, not the full unlock, so treat this bunker as the first repair-tool step and a base-decoration stop.
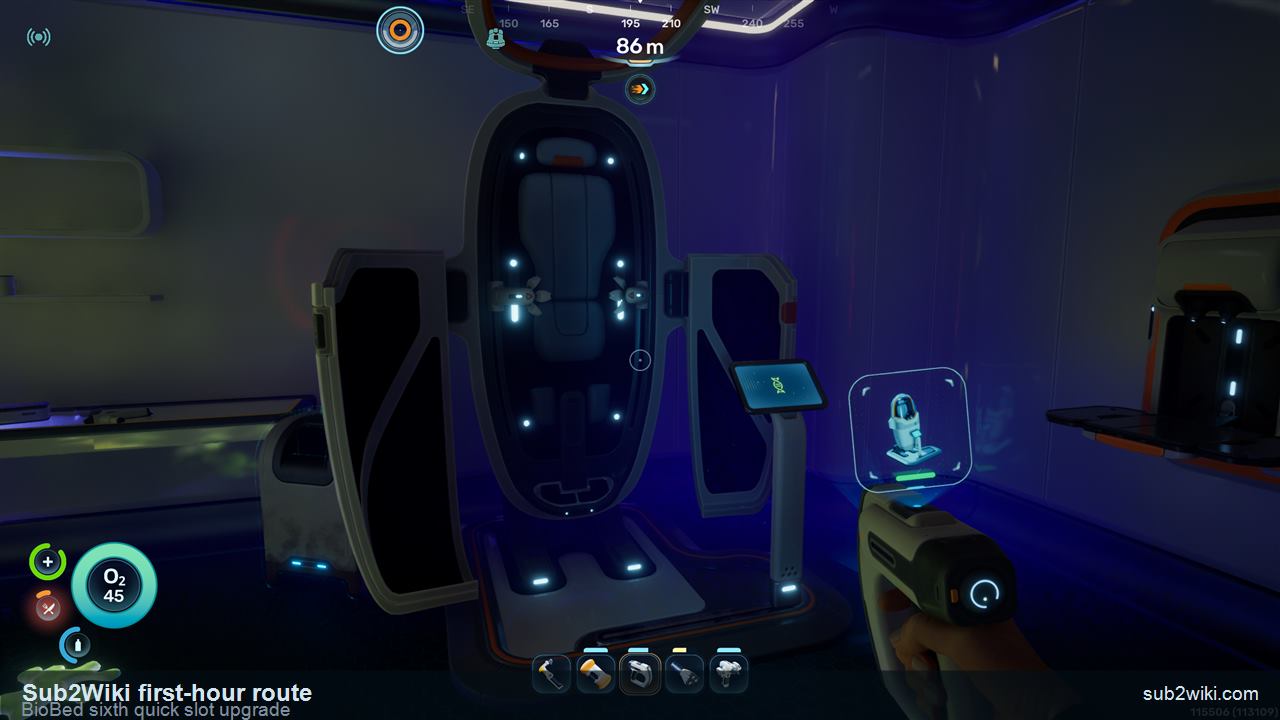
Use the BioBed panel before leaving: the quick-slot bar expands from five slots to six. After that, exit the red hatch, take the route back carefully, and craft the Standard Air Tank from 2 Titanium, 2 Silver, and 1 Rubber. It auto-equips and raises oxygen to 75.
Collect at least two pieces for Standard Air Tank. Extra Silver is useful, but only if oxygen and inventory stay comfortable.
Gather nearby Copper after the two Silver pieces if the return route is still safe.
Pick it up near the first cave and use it to reduce inventory pressure on the route.
Grab the table pickup while you are already inside the cave cluster.
Pick it up while descending through the green-lit Silver cave.
Near the first cave cluster before the black-cable route.
Near the same cave cluster, useful before longer navigation loops.
On the desk inside Colonist Bunker 1. This is progress, not the complete unlock.
Scan the wall fixture inside Colonist Bunker 1.
Scan it before leaving the bunker interior.
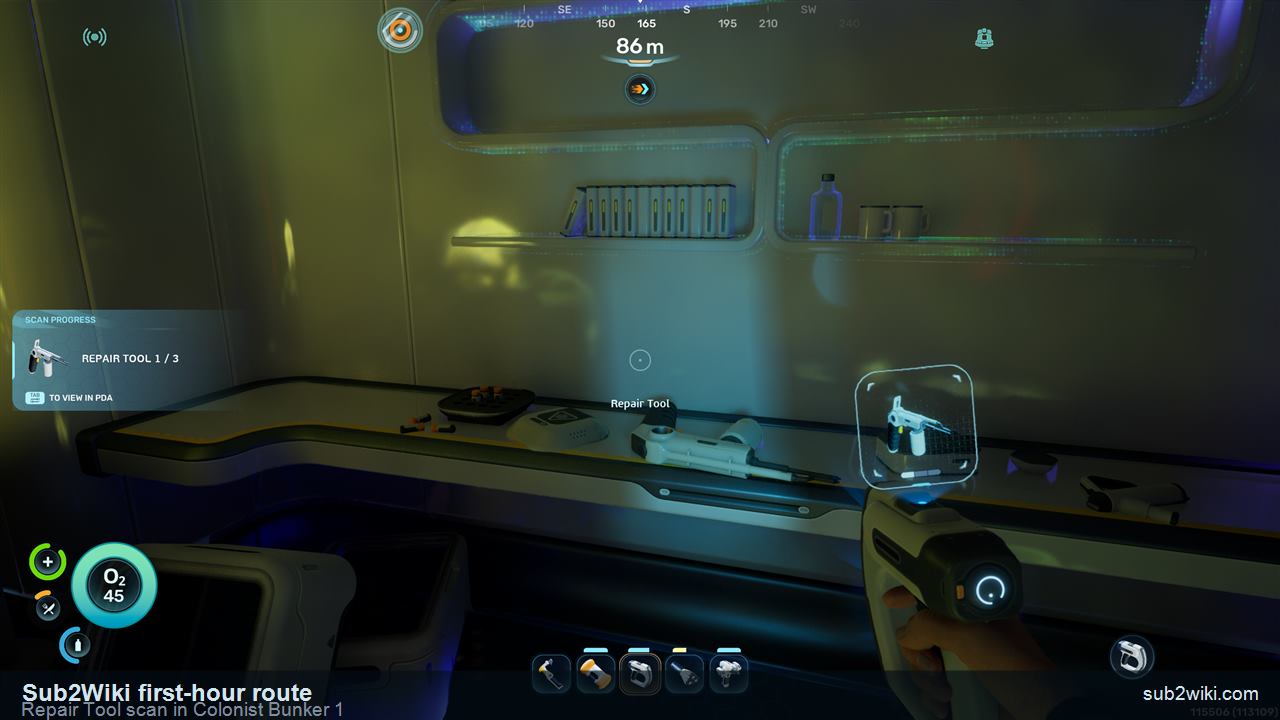
Scan the desk object for Repair Tool 1 / 3 progress.
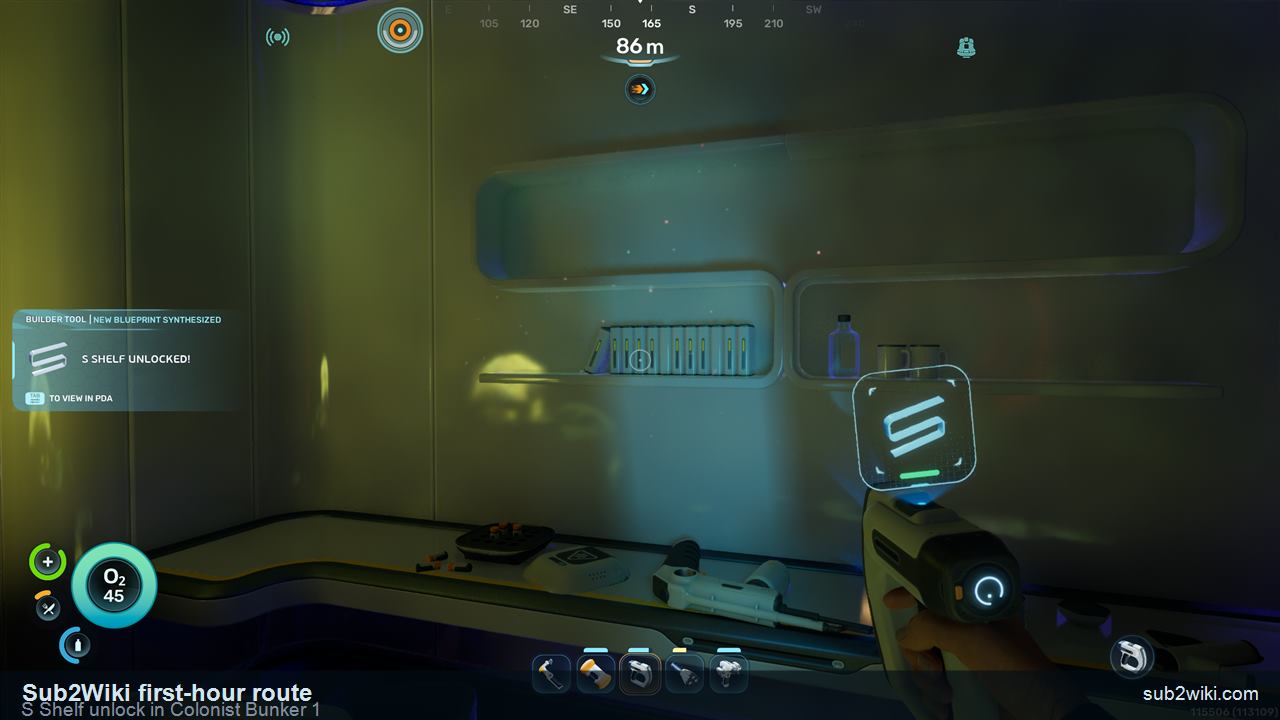
Scan the wall fixture to unlock S Shelf.
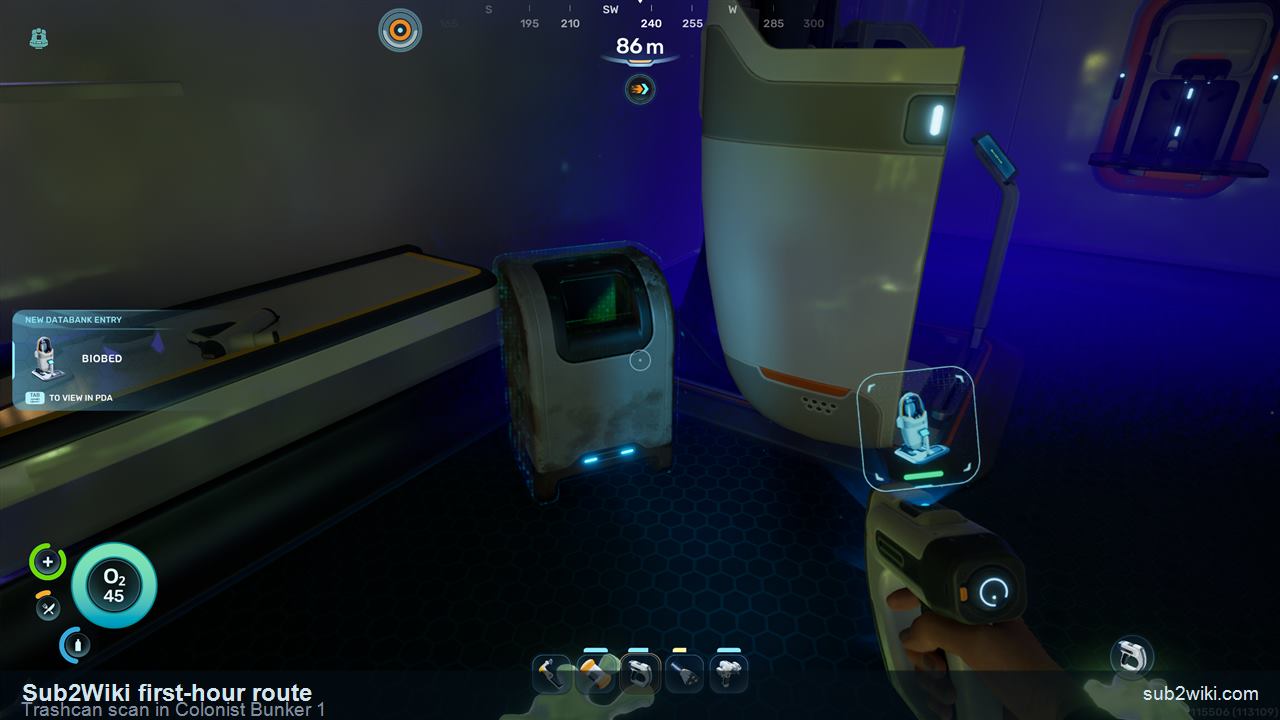
Scan the Trashcan before leaving the bunker.
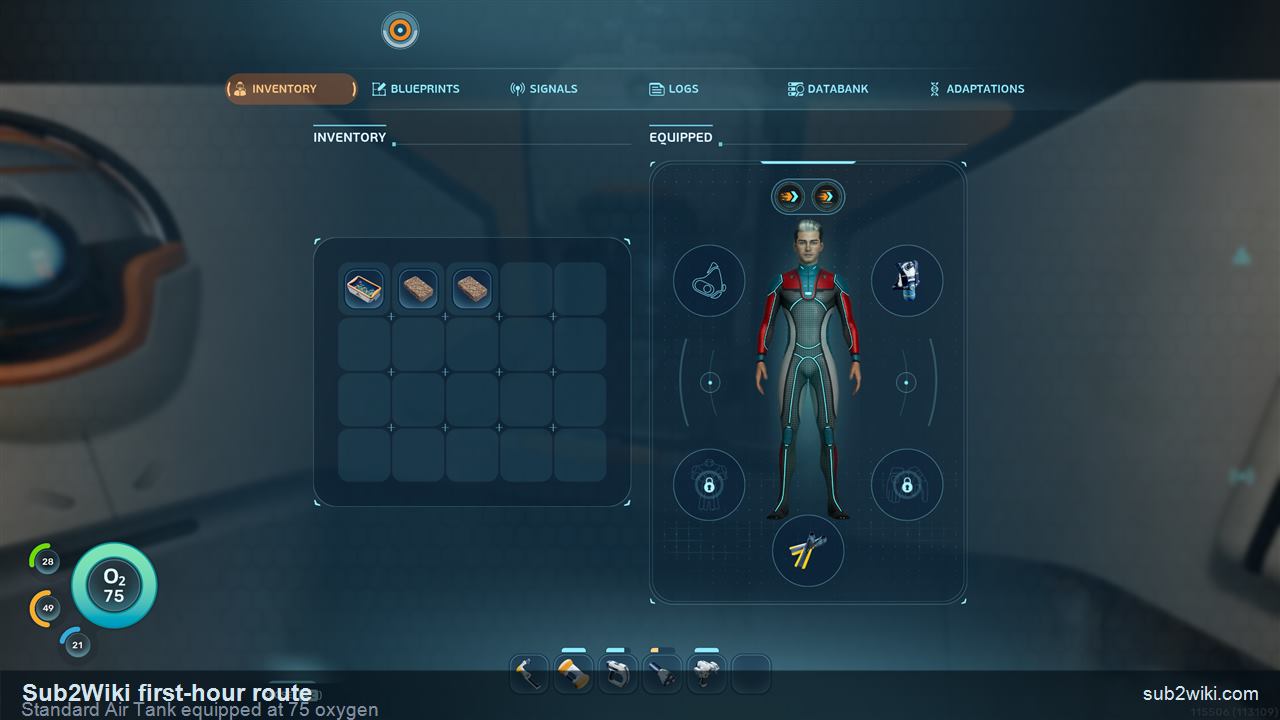
After crafting the Standard Air Tank, oxygen rises to 75.
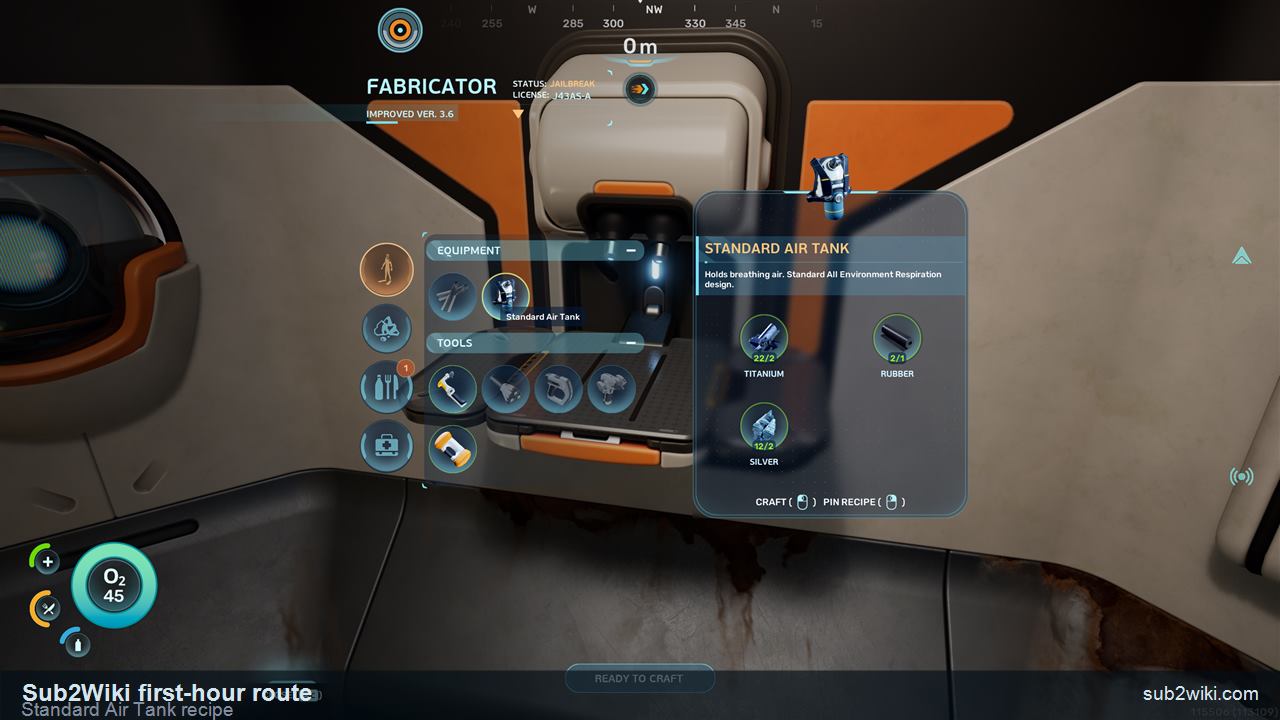
After returning home, craft the Standard Air Tank at the Fabricator. The tank auto-equips after crafting, and oxygen rises to 75. That extra margin makes the next scan and material trips much more forgiving.
Run it after Basic Fins, Scanner, Portable Storage, and a Basic Battery are stable. The route is much safer when it is a focused trip instead of your first open-water wander.
Bring back at least two Silver for Standard Air Tank. The recipe also needs 2 Titanium and 1 Rubber at the Fabricator.
No. The desk scan gives Repair Tool progress, shown here as 1 / 3. Scan it anyway because you are already inside the bunker.
The BioBed panel expands the quick-slot bar from five slots to six. That matters immediately once Scanner, Air Bladder, tools, food, and utility items compete for hotbar space.