Two new Biolabs
Shipped in Update 1Early Access Update 1 "Adaptive Measures" (July 8, 2026) added Biolabs in Coral Gardens and Axum Ruins. Reaching them is now part of the biomod route, not a future roadmap item.
Choose your first Welcome Center Biomods, then plan the later Biolab and Bioscanner progression. Update 1 "Adaptive Measures" added two Biolabs and a six-ability Biolab pool; creature bioscans unlock additional passive slots separately.
Updated .
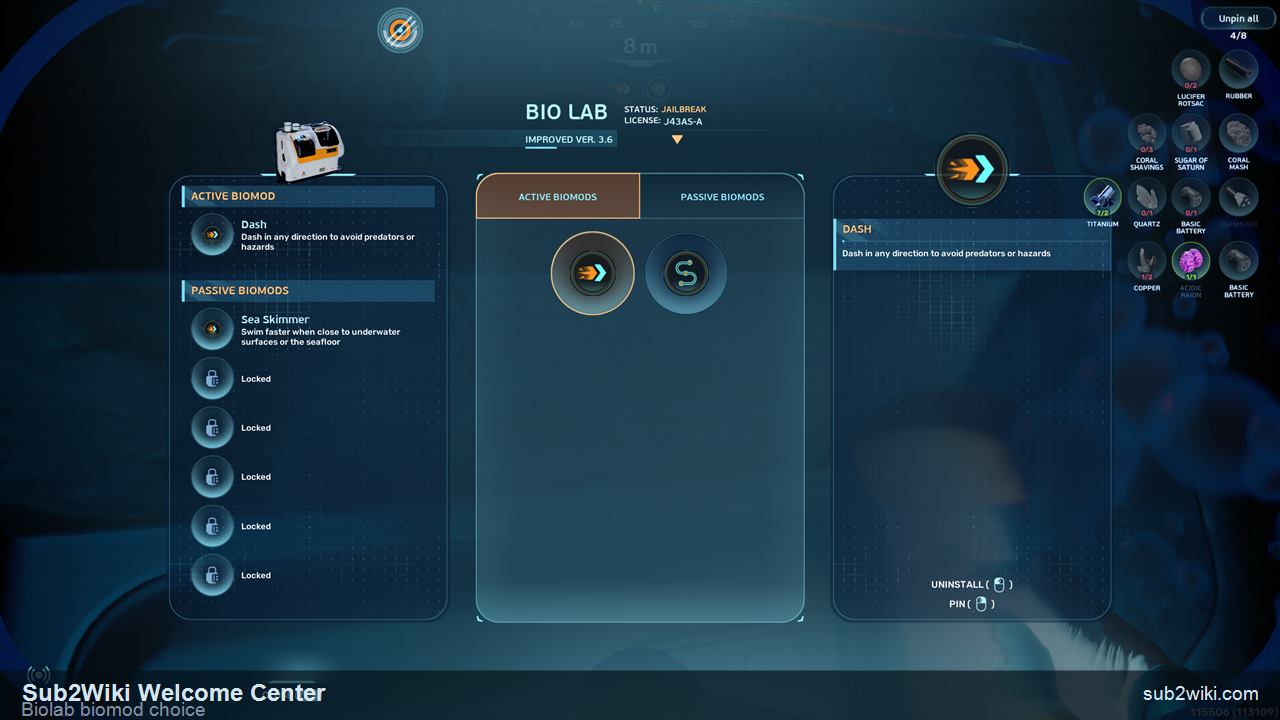
Choose a loadout for the job ahead: travel speed, finding the way back, or using less oxygen while stopped.
The cleanest first active pick for most saves. Press W plus Left Shift for a forward burst; pressing Left Shift without direction can move you backward.
Marks the route behind you, which is better for complex caves than for the opening Welcome Center loop. Pick it later if exits become the real problem.
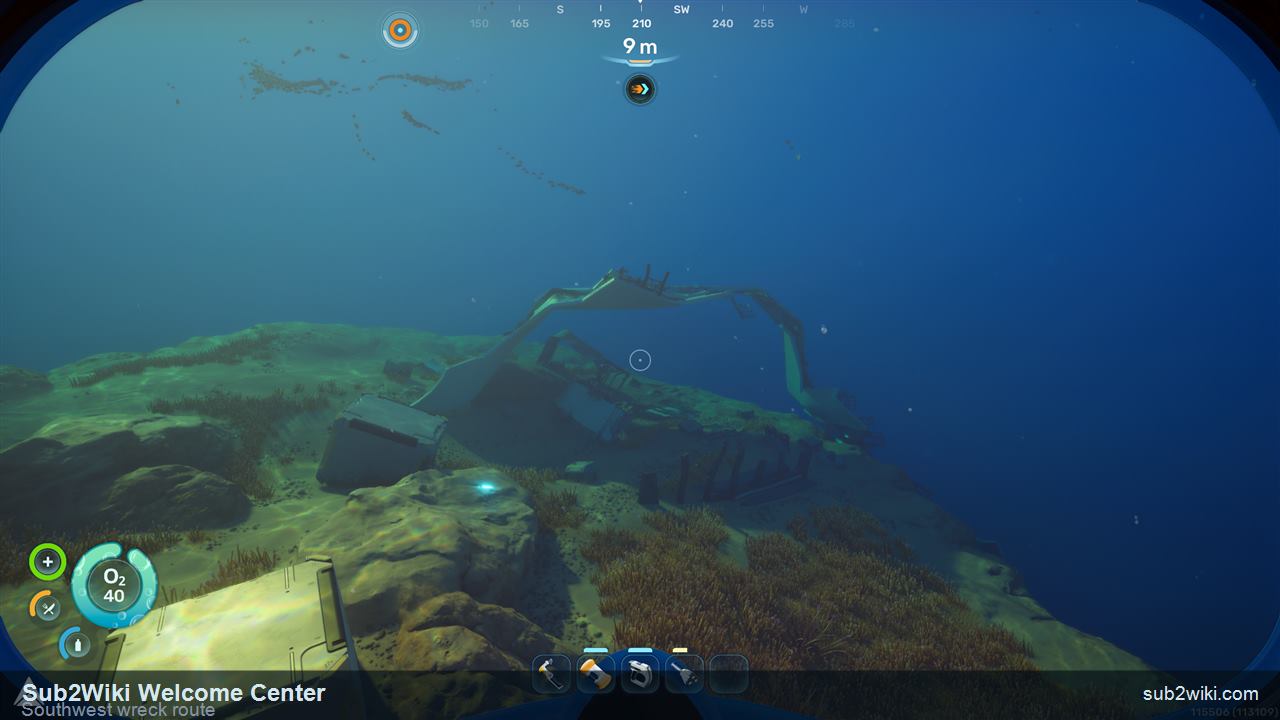
A strong passive pick after powering the Welcome Center because the next route asks you to swim between the facility, the southwest wreck, and home.
Slows oxygen consumption while you are not moving. Consider it when the route involves stopping to inspect an area; return to a Biolab to choose the passive effect for your next trip.
Pick the ability you want, then use its targets as a survey checklist. These are Bioscanner research requirements for PC build 128456, reviewed October 4, 2026. Some abilities can also be granted by a Biolab; check your unlocked list before making a special trip. Unlocking an ability does not automatically equip it.
| Biomod | Bioscan targets | Effect and route choice |
|---|---|---|
| Water SecretionPassive | Produces drinking water over time. A useful first research target when water supplies limit your trips. | |
| Water RetentionPassive | Increases the water gained from drinking and other water sources. Improves the value of the supplies you already carry; it does not produce water. | |
| CamouflagePassive | Conceals you from predators while you remain still. Stop moving to use its concealment; plan an escape route before approaching a predator. | |
| Slow MetabolismPassive | Slows food consumption. Food lasts longer, but the effect does not replace the Digestion adaptation. | |
| Threat SensePassive | Detects nearby threats. Treat the warning as a reason to check your surroundings, rather than protection from an attack. | |
| Electric DischargeActive | Releases an electric shock to deter medium and large predators. Use it to create an escape opportunity; keep enough oxygen for the return. | |
| BioluminescencePassive | Makes your body glow in dark water. Electric Geordie contributes to two entries in this checklist, so note it when planning a survey. | |
| Homing SensePassive | Detects nearby bases that have electrical power. The power requirement matters: an unpowered site is a different navigation problem. | |
| Chum CloudActive |
| Releases bait to distract predators. This ability also appears among Biolab grants. If it is already unlocked, choose another research goal. |
| Dermal GardenPassive | Grows edible algae on your body over time. Check your Biolab loadout before making a dedicated trip; this ability can also be granted at a Biolab. | |
| Sonic EchoActive | Sends out a sonar pulse that highlights nearby resources. A later research objective involving a Leviathan. Build your oxygen and return plan before attempting the scan. |
For a supply-focused trip, start with Water Slug or Coral Crab research. Electric Geordie contributes to both Electric Discharge and Bioluminescence. Keep Collector Leviathan research as a later objective, with a planned retreat. Read the predator survival guide before approaching dangerous targets.
Upgrade the Scanner, choose a research goal from the checklist, and revisit a Biolab after collecting the required bioscans.
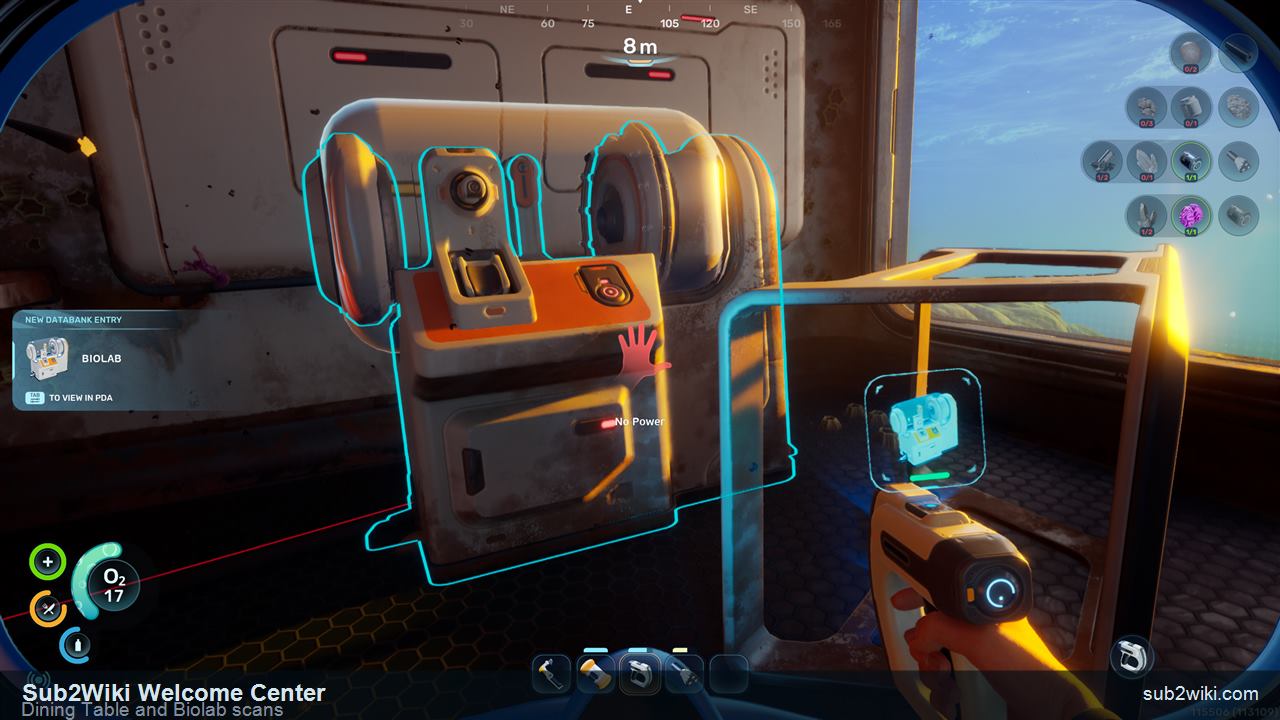
Power the facility with a Basic Battery, open the Biolab terminal, and pick from the default active/passive biomods before chasing the full catalogue.
Treat Bioscanner as a later wreck and Alien Ruins planning task, not a first-hour detour. Finish Welcome Center, first-base setup, and vehicle planning before chasing the broader catalogue.
At the Modification Station, upgrade one Scanner with two Enameled Glass and three Conduit Crystal. The two glass pieces require four Quartz and two Creature Enamel through the Fabricator conversions; blueprint access remains a separate route goal.
Creature bioscans unlock additional passive Biomod slots. Read your total Bioscans and the next slot’s required scan count in the Biomod interface, then return to a Biolab to choose your loadout.
Adaptive Measures changed how you unlock abilities and gain passive slots. Use the displayed Bioscan requirements for your save, and keep Creative mode’s default unlocks separate from normal progression.
Early Access Update 1 "Adaptive Measures" (July 8, 2026) added Biolabs in Coral Gardens and Axum Ruins. Reaching them is now part of the biomod route, not a future roadmap item.
Update 1 raised the pool of abilities unlocked from Biolabs across the world from four to six. This is the number of available abilities, not six simultaneously equipped slots.
Scanning creatures with the Bioscanner now unlocks extra passive Biomod slots, replacing the earlier single-slot behavior.
Creative mode unlocks all Biomods by default. Its starting loadout does not show which Biolabs or creature scans a normal progression save still needs.
| Term | What it means |
|---|---|
| Biomods | Biological abilities chosen for your active and passive loadout. |
| DNA Modification | The broader biological progression system, including Biomods and creature research. |
| Bioscanner | Later Scanner upgrade associated with unlocking most non-default biomods. |
| Biolab / Bio Lab | Welcome Center terminal where default active and passive biomods are selected. |
| Active biomods | Triggered abilities such as Dash or Pathfinder. |
| Passive biomods | Always-on effects such as Sea Skimmer and later passive-slot upgrades. |
An unlocked ability adds a choice to your loadout. An extra passive slot lets you equip more passive effects. Check which reward you received before planning the next dive.
Use the displayed total Bioscans and next passive-slot requirement to see how much progress remains. The six-Biomod Biolab pool is a different count.
Open the Biolab loadout and choose the ability you want to use. Treat unlocking an ability and equipping it as separate steps.
Dash suits short forward bursts, Pathfinder helps with cave exits, and Sea Skimmer supports the opening swim route. Reconsider your choices when your next route changes.
No. Adaptive Measures increased the abilities unlocked from Biolabs across the world to six. Additional passive slots are a separate reward earned through creature bioscans.
Biomods are the active and passive upgrade choices players equip at the Biolab. DNA Modification is the broader search phrase players use for the biological progression layer, so this site keeps both terms connected while the Early Access wording settles.
Pick Dash as the first active biomod for most saves, then Sea Skimmer as the passive pick if you want smoother travel between the Welcome Center, the southwest wreck, and home. Choose Pathfinder later if cave exits become the problem.
Read the next slot’s requirement and your total Bioscans in the Biomod interface. Adaptive Measures made both visible, so you can use the displayed progress to plan the next creature survey.
Visit Biolabs for their ability unlocks and use the later Bioscanner for creature research. Since Adaptive Measures, creature bioscans also unlock more passive slots. Return to a Biolab to choose what you equip.
Adaptive Measures unlocks all Biomods by default in Creative mode. A Creative save starts under different rules from a normal progression save.
Read the official update notes for passive slot progression, then follow the DNA Modification guide for the unlock route.
Six Biolab ability unlocks, passive slots from creature bioscans, displayed scan requirements, and all Biomods unlocked in Creative.
External resource
Official source for Biomods System and More Passive Biomod Slots in the Early Access roadmap.
External resource
External route reference for default biomods and Bioscanner-based unlock intent. Use as route context, not final catalogue rows.
External resource
External route reference for the Scanner upgrade path and later-route caution.
External resource
Site explanation for biomods, Bioscanner aliases, old wording cleanup, and FAQ.
Early Bio Lab terminal route, Basic Battery step, and first biomod choice context.
How oxygen-focused biomods fit beside Air Tank, Rebreather, Tadpole, and route planning.
The later tool route, creature scans, and the difference between abilities and equipped slots.
How Angel Comb, Welcome Center Biolab, and the southwest wreck connect in order.
Active and passive biomod slots, Biolab choices, and Bioscanner context.
How to power up the first Biolab terminal and choose Dash plus Sea Skimmer.
Where Sea Skimmer helps after the Biolab and before Tadpole planning.
Potential Bioscanner targets once creature-to-biomod unlocks are clear.
When oxygen-focused biomods are the right answer.
Search Bioscanner, Biolab, and modification-related items.
Track the delivered Update 1 biomod system, passive slots, and what is next.