Starter Fabricator rows
Open the first useful tool and survival rows without turning the opening into a loose material list.
The canonical recipe hub for the first-hour starter loop, material conversions, equipment rows, scan unlocks, Habitat Builder, first base placement, and the southwest wreck follow-up.
Reviewed .
Use this chain before the Welcome Center if your save still needs starter tools, hydration, inventory relief, and better oxygen.
Craft Survival Multitool, then get Scanner online before fragment routes start.
Make Basic Fins, catch Water Slug, and craft Water before longer swims.
Learn Air Bladder controls and use existing Lifepod storage. The current Portable Locker recipe follows Habitat Builder access.
Run Colonist Bunker 1 for Silver, then craft Standard Air Tank for 75 oxygen.
Use these four steps to avoid turning the first base unlock into a loose recipe list.
Use the 150-degree Welcome Center route, scan the entrance fragment, then scan the cave fragment after the oxygen reset.
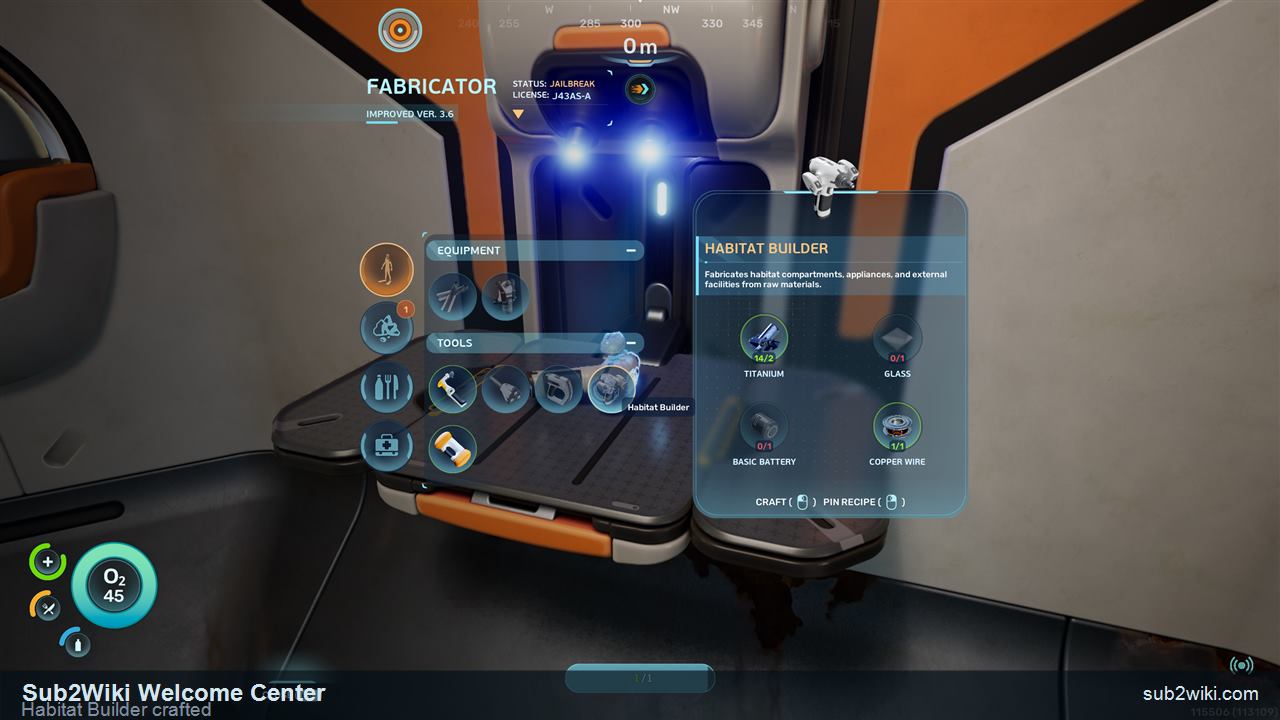
Keep 2 Titanium, 1 Glass, 1 Basic Battery, and 1 Copper Wire ready before spending starter materials elsewhere.
Scan Dive Elevator, Beacon, and one Tadpole fragment before returning home if oxygen and supplies are stable.
Craft Habitat Builder, place a simple Corridor, add Hatch, then move into storage and power planning.
Use the lane that matches the problem in your inventory or route, then open the detail page for the exact craft order and unlock context.
Open the first useful tool and survival rows without turning the opening into a loose material list.
Make the gear that gives the next route more time, cleaner inventory, and safer exits.
Keep conversion rows tied to the craft they unblock instead of stockpiling finished parts too early.
Use Scanner routes when the reward is a new craft row or build category rather than only a material spend.
Turn the Welcome Center and southwest wreck into a base shell, route markers, and later power planning.
Each detail URL keeps the craft row, unlock path, route timing, item page, and map context on one canonical page.
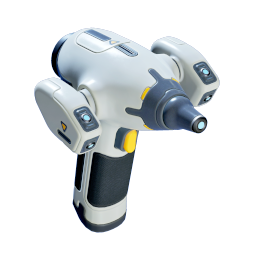
Scan two Habitat Builder fragments at the Welcome Center, then craft it at the Fabricator with 2 Titanium, 1 Glass, 1 Basic Battery, and 1 Copper Wire.
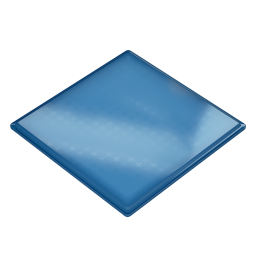
Craft 1 Glass from 2 Quartz at the Fabricator, then save that Glass for the Habitat Builder recipe after the Welcome Center scans.
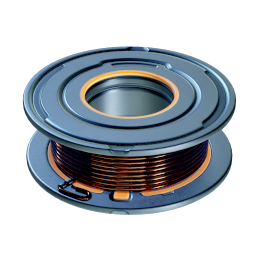
Craft 1 Copper Wire from 2 Copper at the Fabricator, then hold it for Habitat Builder unless your current tool route needs the electronics first.
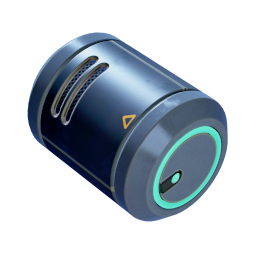
Craft 1 Basic Battery at the Fabricator from 2 Copper and 1 Acidic Raion Pouch. A Scanner and a Flashlight each consume one battery in their recipes, so prepare 4 Copper and 2 pouches for that pair before adding spares.

Craft one Power Cell at the Fabricator from 2 Basic Batteries, 1 Strong Acid and 1 Salt. The first Tadpole fragment scan opens this vehicle-power recipe.

Use 2 Necrolei Cysts at the Fabricator to make 1 Strong Acid. The Processor provides an alternative recipe using 1 Sulfur and 1 Gold.

Complete two Beacon scans, then build one with 1 Copper and 1 Titanium using the Habitat Builder. Deploy it to mark a return point and manage its signal in the PDA.

Complete two Dive Elevator scans, then build it with 4 Titanium, 2 Copper and 2 Quartz using the Habitat Builder. The southwest wreck after the Welcome Center is an early scan stop.
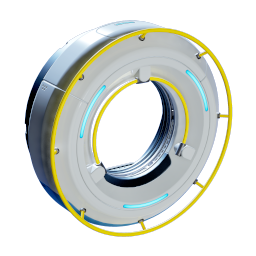
Build a Hatch with 1 Titanium and 1 Quartz using the Habitat Builder. Place the Corridor or room first, then attach the Hatch so you can enter the structure.
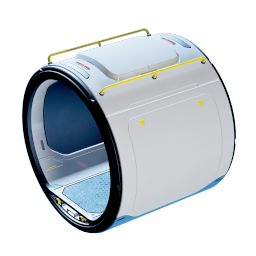
Select Corridor under the Habitat Builder Standard Elements menu, place it above solid terrain, and choose its size before completing construction. Add a Hatch and power supply to turn the shell into an accessible oxygen stop.
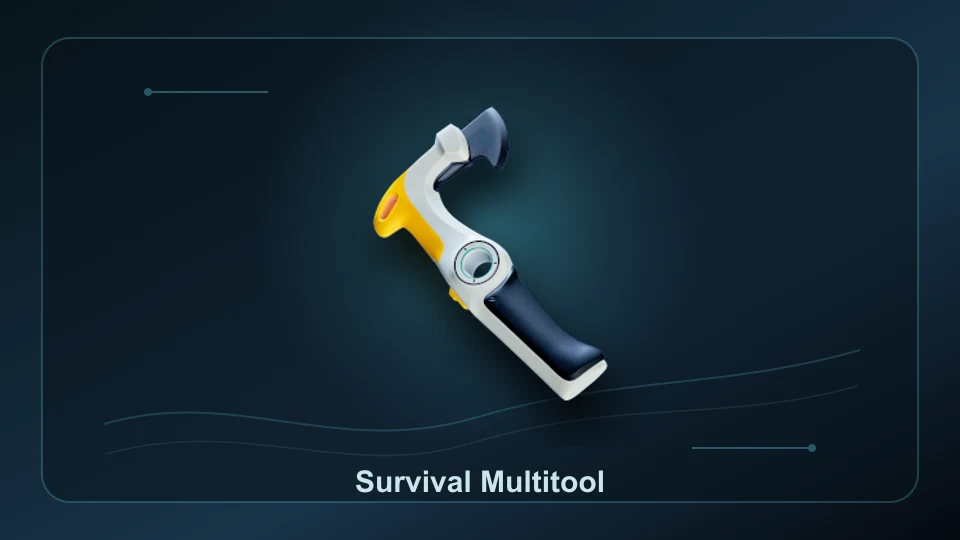
Craft the Survival Multitool at the Fabricator from 3 Titanium. Use it to harvest tougher plant materials and cut resources for the early Fiber and battery chains.
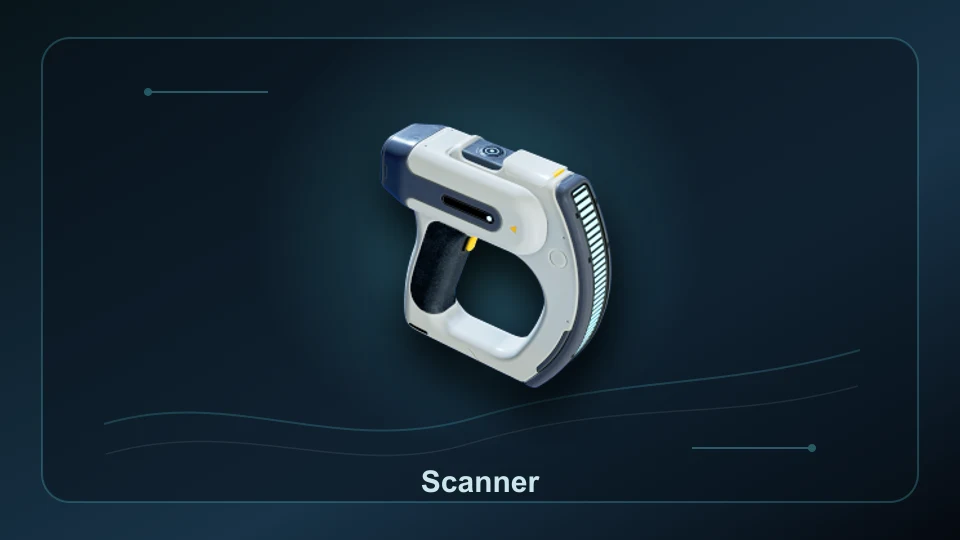
Craft a Scanner at the Fabricator with 2 Titanium, 2 Quartz and 1 Basic Battery. Making that battery from scratch adds 2 Copper and 1 Acidic Raion Pouch to your shopping list. Build the Scanner before searching for Flashlight or Repair Tool fragments.
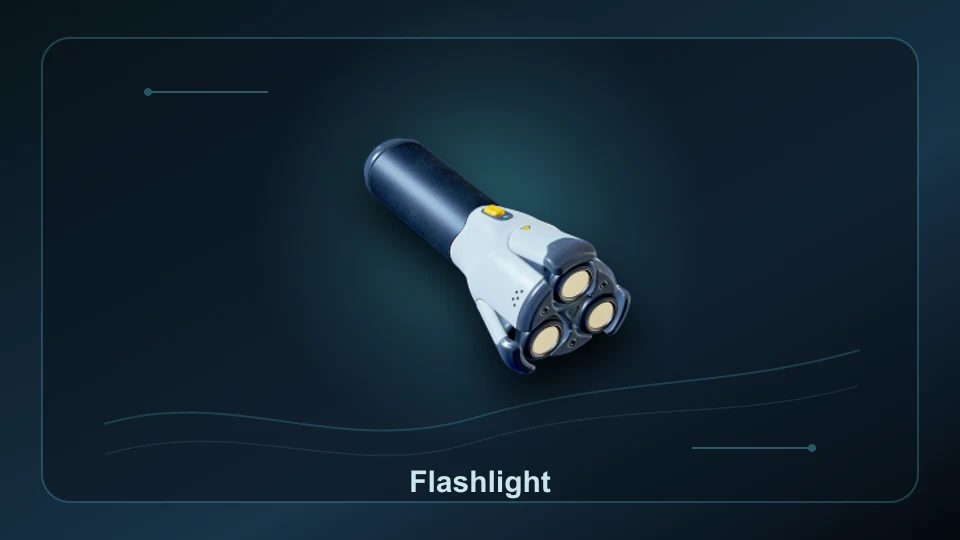
Scan two Flashlight fragments, then craft it at the Fabricator with 2 Titanium, 1 Quartz and 1 Basic Battery. The cave below the Lifepod and the northeast wreck provide the two stops used in this guide.
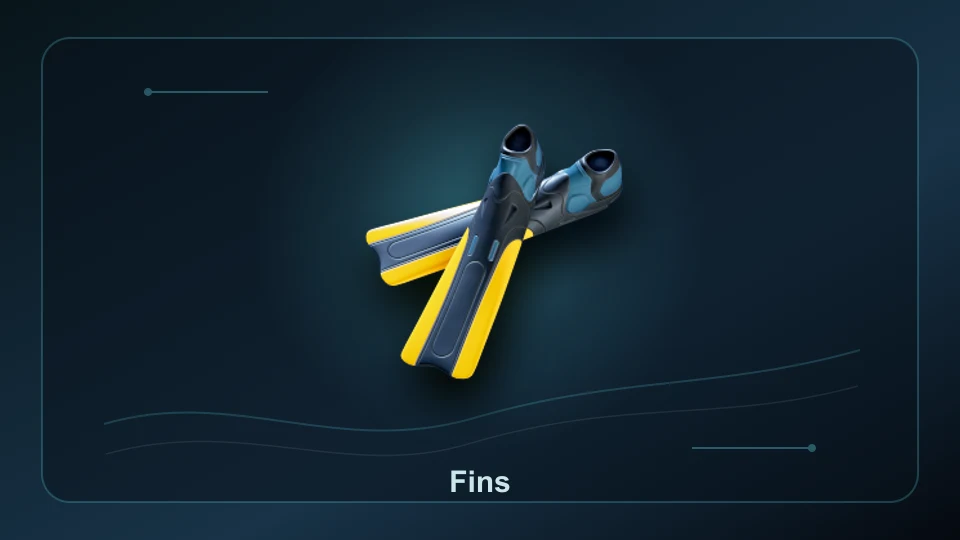
Craft Basic Fins from 2 Rubber and 2 Fiber at the Fabricator. Starting from raw plants, reserve 4 Lucifer Rotsacs and 4 Fibrous Pulp for those components.

Craft an Air Bladder from 2 Titanium and 1 Rubber at the Fabricator. With default keyboard and mouse controls, select it underwater and press F to inhale oxygen, or right-click for a fast ascent toward an unobstructed surface.
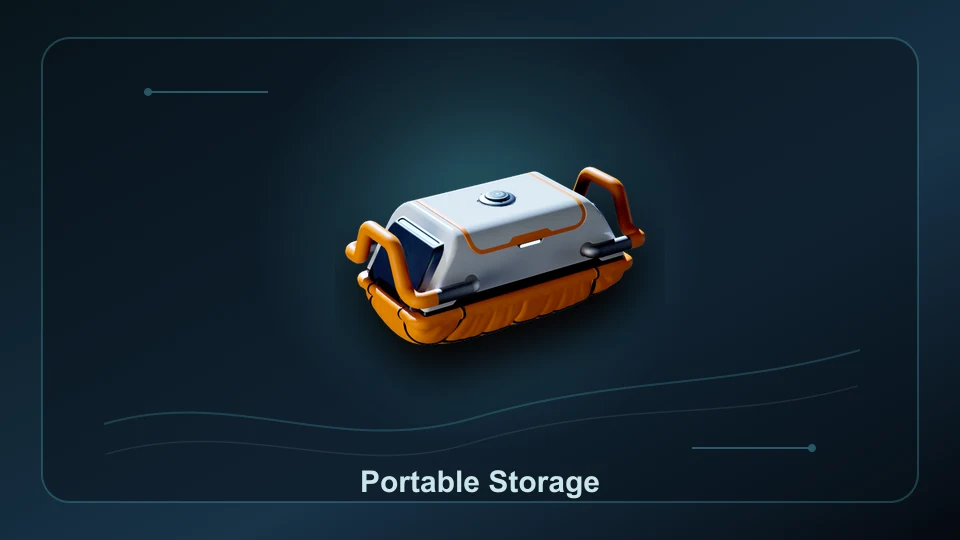
The current Portable Locker recipe uses 4 Titanium and belongs to Habitat Builder’s Utility category. The recipe lists Habitat Builder acquisition or blueprint unlock as access conditions. Earlier guides call this storage item Portable Storage.
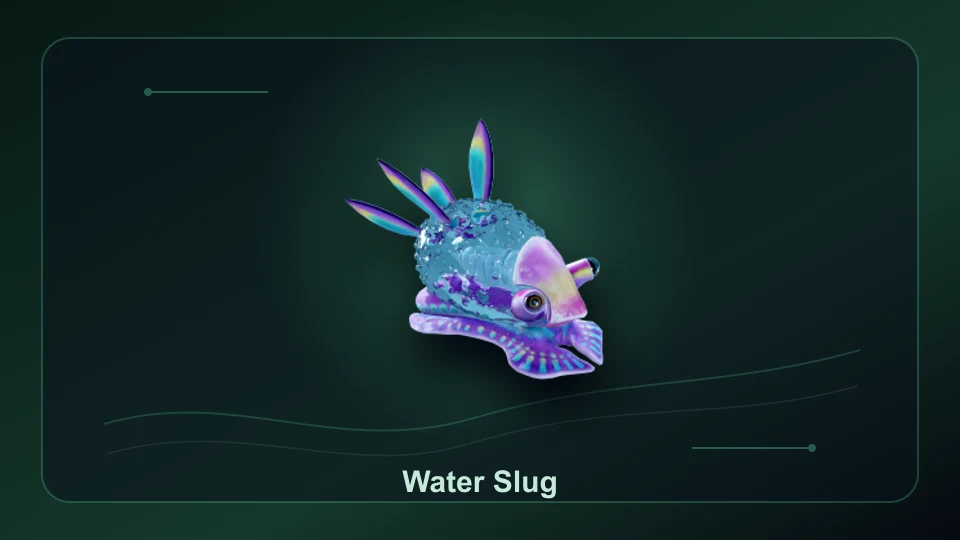
Catch a Water Slug during the short first-hour loop, bring it back to the Fabricator, and craft Water for +40 Water before longer routes start.
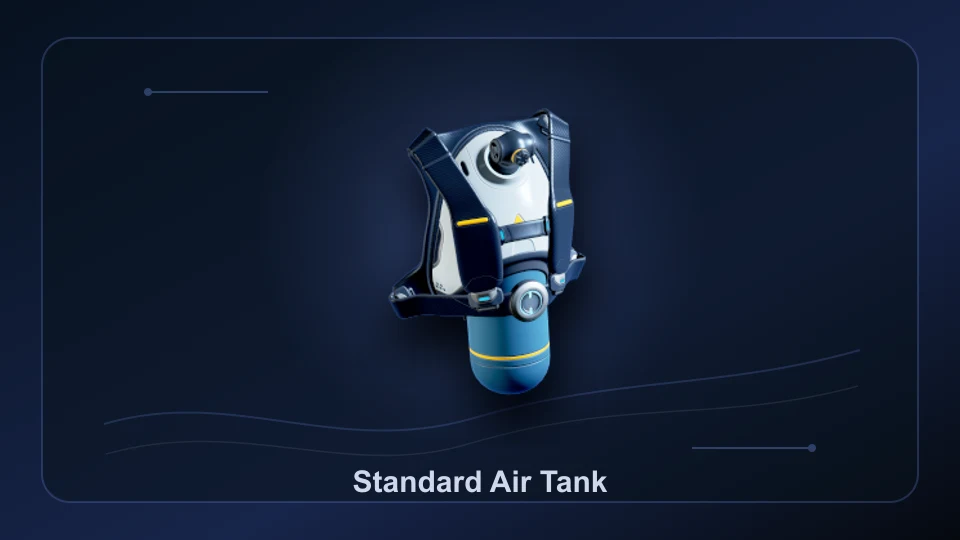
Craft Standard Air Tank at the Fabricator with 2 Titanium, 2 Silver, and 1 Rubber after the Colonist Bunker 1 Silver route. It auto-equips and raises oxygen to 75.
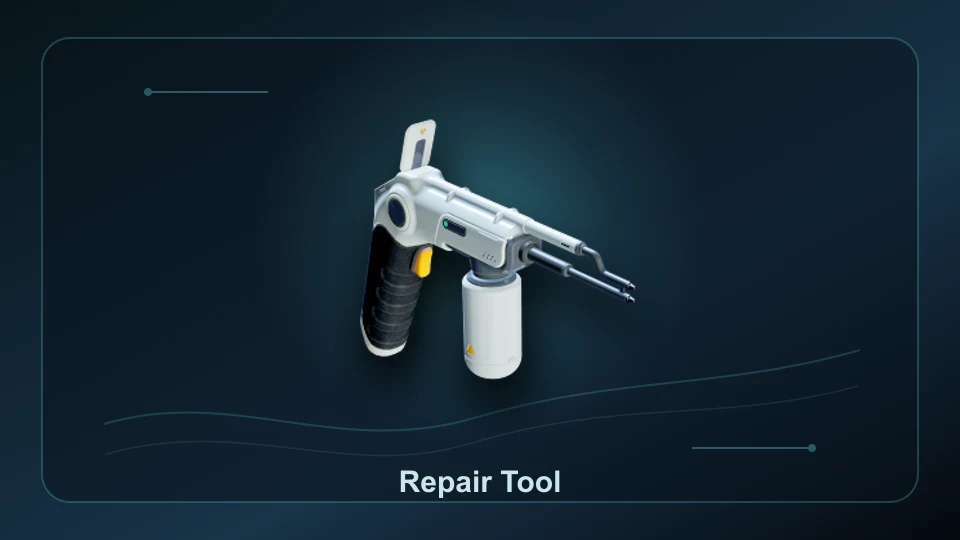
Scan two Repair Tool fragments, then craft it at the Fabricator with 1 Titanium Ingot, 1 Wiring Kit, 1 Basic Battery and 1 Sulfur. Start with Chap base, then choose the south wreck or northeast wreck for scan two; all three locations are not required.
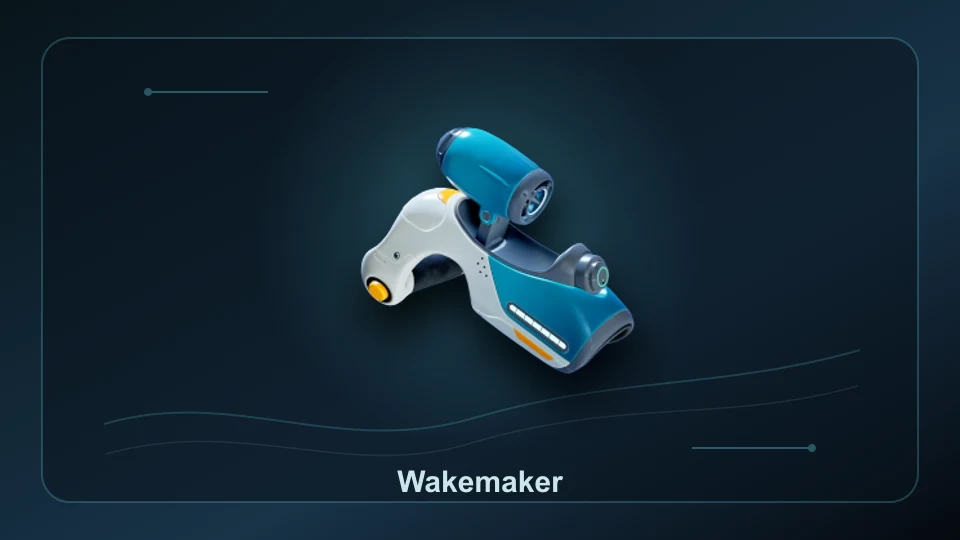
Complete three Wakemaker scans, then craft it at the Fabricator with 1 Silver, 1 Wiring Kit, 1 Grease and 1 Basic Battery. Its raw metal budget is 2 Silver and 4 Copper once the kit and battery are included.

Make one Mild Acid at the Fabricator with 2 Acidic Raion Pouch and 1 Copper. The Processor needs one Mild Acid, so reserve this conversion before spending the pouches or Copper elsewhere.

After one full Processor scan, build the station inside a base with the Habitat Builder using 2 Titanium, 1 Mild Acid and 1 Copper Wire. Starting from raw materials, reserve 2 Titanium, 3 Copper and 2 Acidic Raion Pouches.

Scan a Scanner Station, then build one inside a base room with the Habitat Builder using 1 System Chip, 3 Titanium and 1 Wiring Kit. From raw materials, reserve 3 Titanium, 2 Silver, 4 Copper and 2 Quartz. Power the base, select a scanner filter, then select a contact to mark it in the world.

One Titanium Ingot costs 5 Titanium at the Fabricator or 3 Titanium at the Processor. Both produce one ingot. For an early Repair Tool, use the station you already have; an established Processor saves two Titanium per ingot.
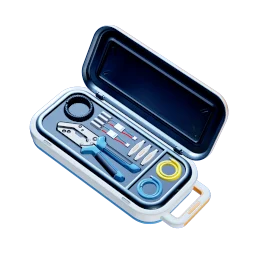
Craft one Wiring Kit from 1 Silver and 1 Copper Wire at the Fabricator. Because one Copper Wire costs 2 Copper, the raw-material total is 1 Silver and 2 Copper per Wiring Kit.
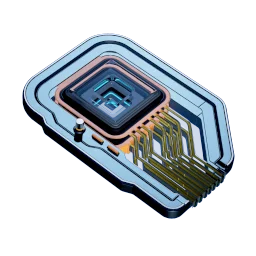
System Chip is the current name of the component often called Computer Chip in older lists. Make one at the Fabricator from 1 Wiring Kit and 2 Quartz. Starting from raw materials, that is 1 Silver, 2 Copper and 2 Quartz.
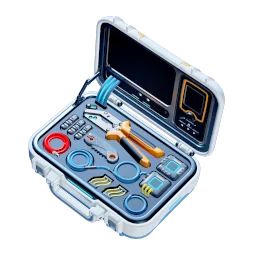
One Advanced Wiring Kit costs 1 Wiring Kit, 1 Gold and 1 Sulfur at the Fabricator. The raw-material total is 1 Silver, 2 Copper, 1 Gold and 1 Sulfur. A System Chip is not an ingredient in this recipe.

One Enameled Glass costs 1 Glass and 1 Creature Enamel at the Fabricator. Since Glass costs 2 Quartz, one Enameled Glass needs 2 Quartz and 1 Creature Enamel from scratch. The Bioscanner uses two Enameled Glass.

Make one Plasteel Ingot at the Processor from 2 Titanium and 1 Lithium. A High Capacity Air Tank uses one Plasteel Ingot and one Standard Air Tank. Follow the Processor recipe when budgeting materials for this upgrade.
The route and material row are strong enough to use for first-base planning.
Use the route now, then read the station row before crafting extras.
The blueprint or material becomes relevant after a scan or route step.
The page is about where and when to scan the blueprint.
The base part opens with Habitat Builder and should be checked in the build UI before mass placement.
Material counts and stations for the stable PC build are stated on the recipe page; blueprint access remains a separate requirement.
Add recipe goals, expand dependencies, total raw materials, and save gathered progress.
Step-by-step route for Habitat Builder, Biolab, southwest wreck, and Tadpole start.
Interactive checklist for Habitat Builder materials, scan unlocks, and the first base return.
Searchable index with item pages, route links, and recipe detail links.
Route markers for Welcome Center, southwest wreck, Tadpole, resources, and base spots.
Habitat Builder, Hatch, Corridor, power, storage, and vehicle-support planning.
Station families, material tiers, and recipe planning rules.
Start with Survival Multitool, Scanner, Basic Fins, Water, Air Bladder and Standard Air Tank. Then establish Habitat Builder for the first base and Portable Locker. The material pages explain Wiring Kit, System Chip, ingots and Enameled Glass for later upgrades.
Some player goals start as a scan route before they become a Fabricator or Habitat Builder row. Keeping them in one canonical hub avoids splitting the same craft across duplicate pages.
No. This hub covers starter equipment, first-base unlocks and selected material chains, including electronics, ingots and Bioscanner glass preparation.
Return home and craft Habitat Builder with 2 Titanium, 1 Glass, 1 Basic Battery, and 1 Copper Wire, then place Corridor and Hatch for the first shell.