Required
Scanner, oxygen margin, and a clear return route.
EA 1.2 reduced the Repair Tool unlock to two scans. Three fragment locations remain useful route choices: the Chap base desk scan, a south wreck interior, and the northeast wreck scan cluster. Start with the bunker, then choose one wreck.
Reviewed .
Scanner, oxygen margin, and a clear return route.
Standard Air Tank, Basic Fins, Air Bladder, and a Beacon for wreck entrances.
Run the Colonist Bunker 1 Silver route so the first Repair Tool scan fits into a useful upgrade loop.
After the Chap base scan, choose either the south or northeast wreck for scan two. You do not need all three locations after EA 1.2.
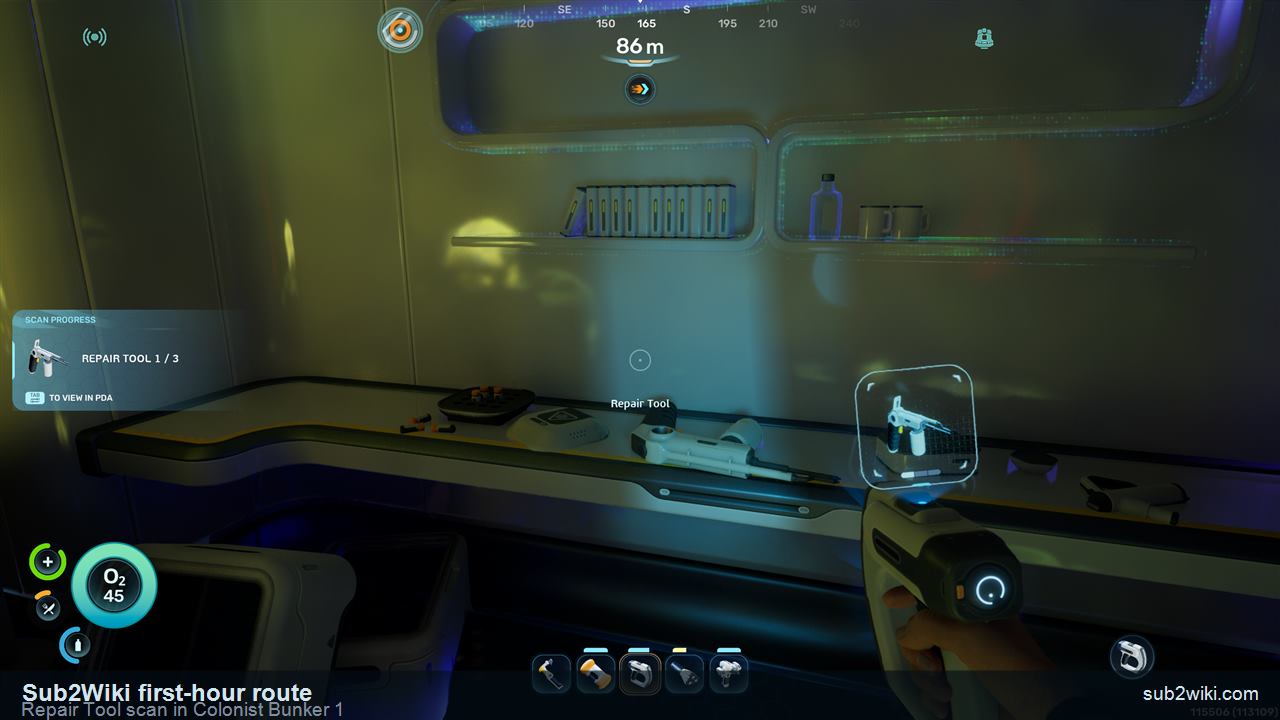
Start with the Colonist Bunker / Chap's base route southeast of the Lifepod. The fragment is on a desk inside the small cave base.
This is the cleanest first scan because it sits on a controlled early route, close to Silver, BioBed, and other first-hour upgrades.
Swim south from the Lifepod, cross the deeper gap, enter the small wreck opening, then keep a clear exit path before dropping through the lower interior.
EA 1.2 unlocks the Repair Tool after two scans. Choose this as your second scan when your oxygen timing is stable; the fragment is useful, but the wreck interior punishes wandering.
Head roughly 60 degrees northeast from the Lifepod toward the large wreck and enter from below.
Use this instead of the south wreck for the second scan if you want a multi-scan trip. The remaining third route is optional after the blueprint unlocks.
Scan the desk object inside Colonist Bunker 1 for the first Repair Tool fragment progress.
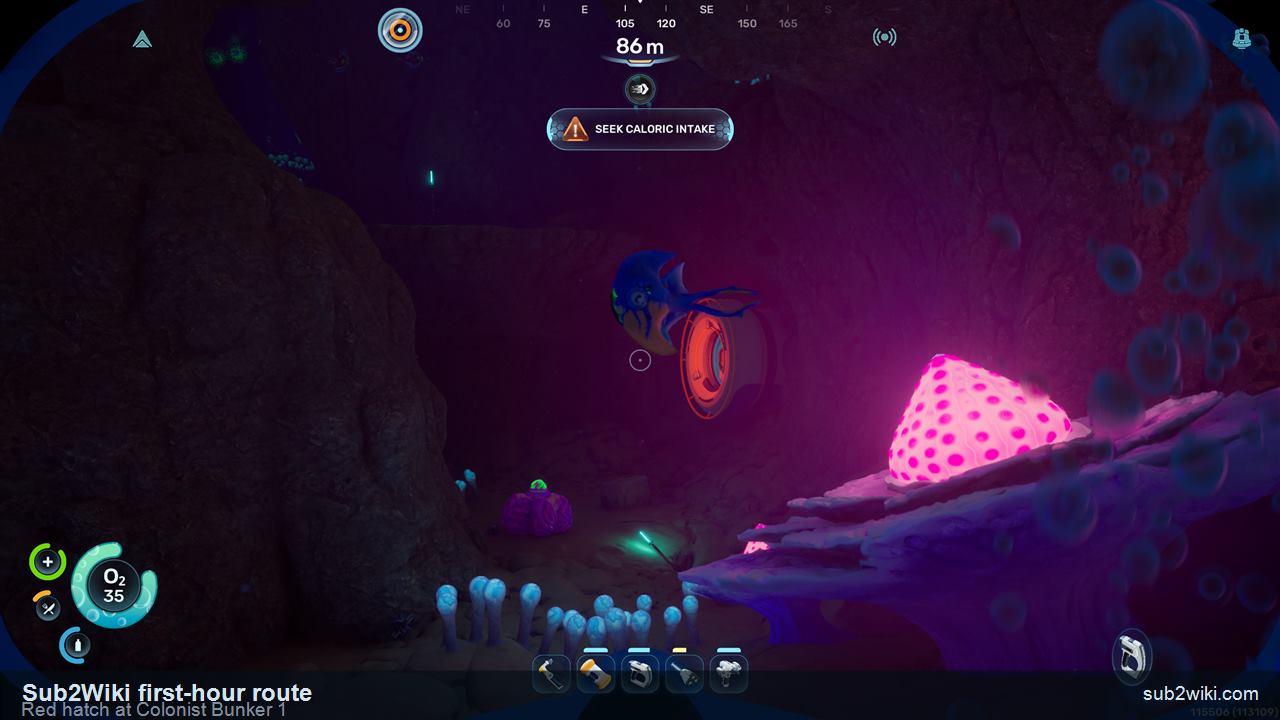
Use the red hatch route only with enough oxygen to enter, scan, and return.
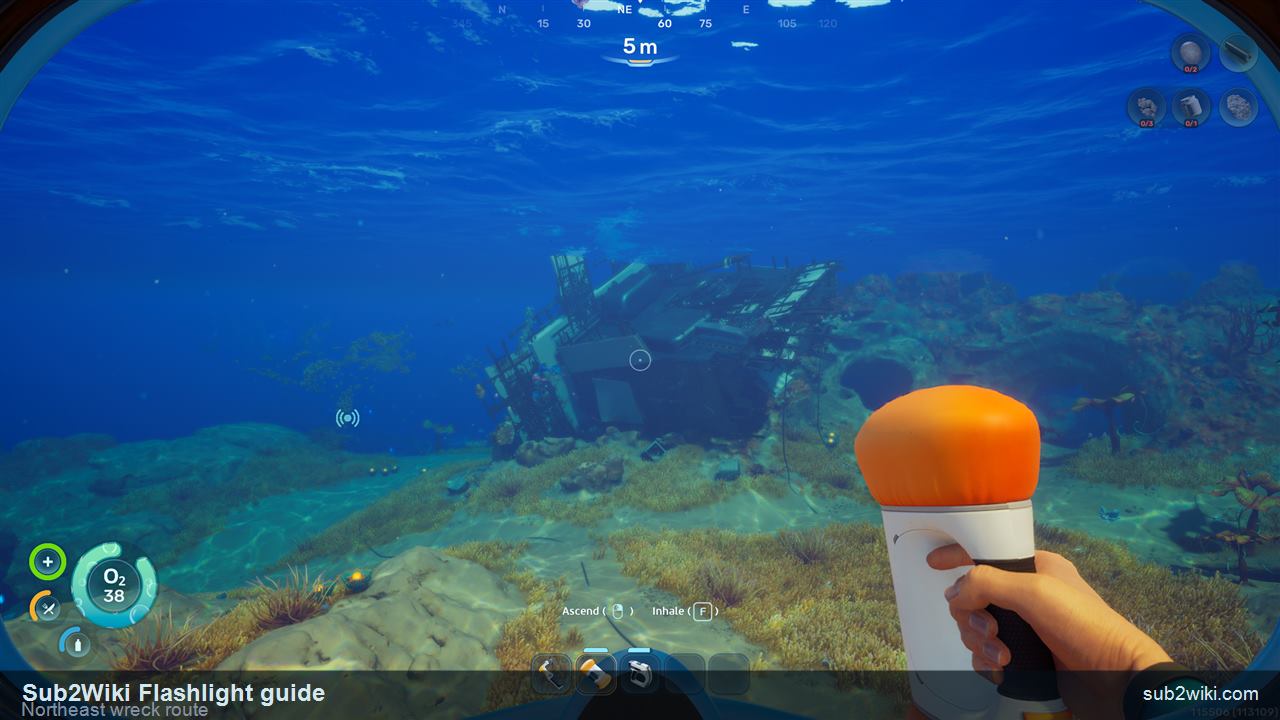
The northeast wreck route is a high-value scan trip once movement and oxygen are comfortable.
| Fragment | Approx route | Coordinates | Reference |
|---|---|---|---|
| Repair Tool at Chap's base | PC Gamer places this fragment about 220 m southeast of the Lifepod inside Chap's base. | 155, 40, 155 About 40 m cave base | PC Gamer Repair Tool guide |
| Repair Tool south wreck sofa | Swim directly south across the deep gap about 300 m from the Lifepod. | 0, ?, 300 Wreck interior | PC Gamer Repair Tool guide |
| Repair Tool northeast wreck door | PC Gamer places this wreck about 60 degrees northeast of the Lifepod and roughly 380 m away. | 329, ?, -190 Wreck interior | PC Gamer Repair Tool guide |
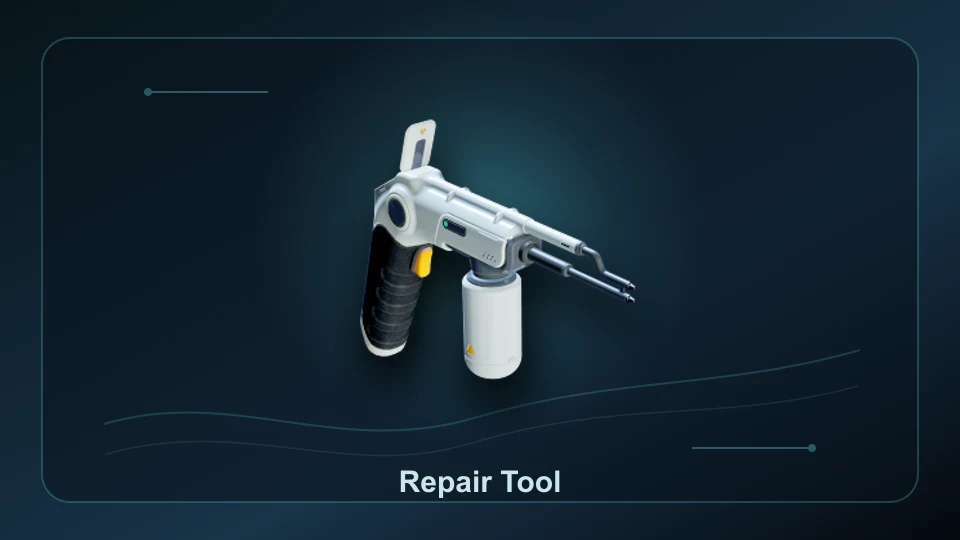
The Repair Tool belongs in your base and vehicle safety kit. EA 1.2 makes the route cheaper in time: one controlled bunker scan plus one wreck scan completes the blueprint. Choose the wreck whose exit line you can keep clear.
You need two scans after Early Access 1.2. We track three known fragment locations — Chap base, the south wreck, and the northeast wreck — so you can choose the safer second route for your save.
Start with the Chap base / Colonist Bunker route. It shares a route with early Silver, BioBed, and starter upgrades. Then choose either the south or northeast wreck for the second and final required scan.
No. EA 1.2 changed the unlock requirement to two scans. The third known location is a fallback if one wreck route is inconvenient or useful only as part of another scan trip.
No. Use them as Lifepod-relative route planning markers. Early Access updates can move entrances, interior paths, or scan placement, so keep an oxygen exit plan.