1
Anchor on the Lifepod
Surface once, face the Lifepod, then note the black cable on the seafloor. That cable is the most reliable early landmark and keeps short oxygen loops from turning into drift.
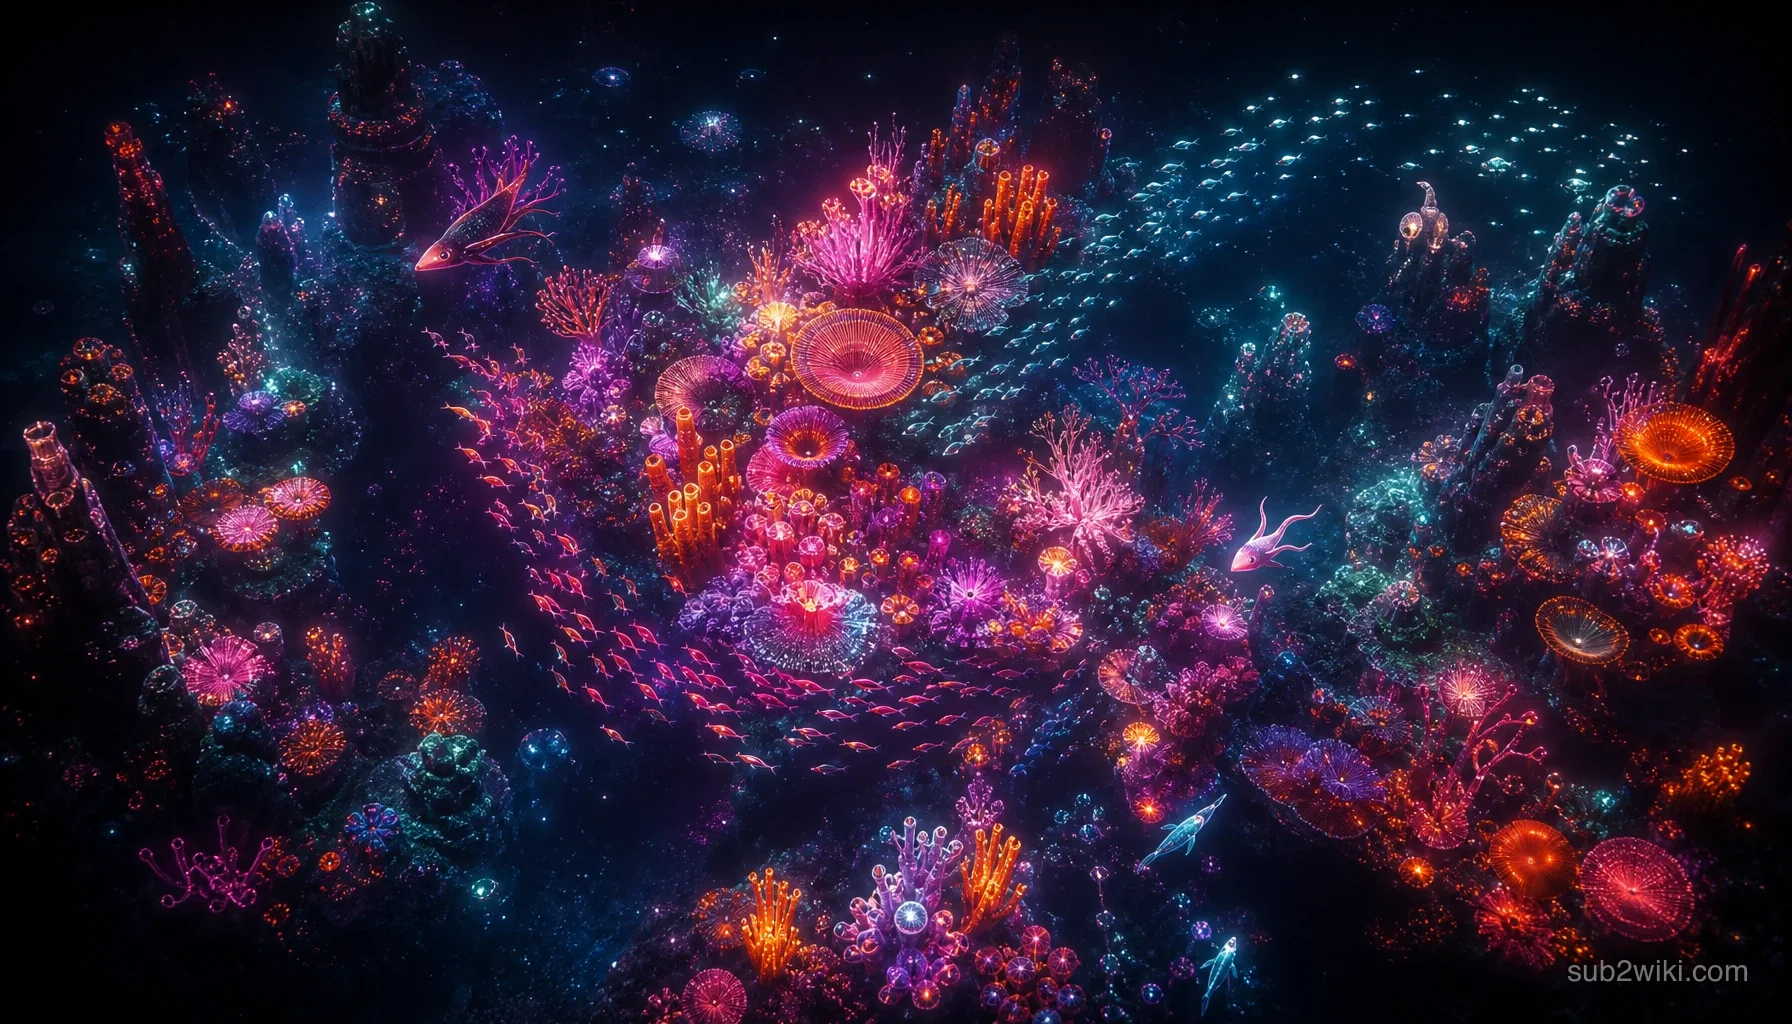
The Kelp Forest is the shallow starter biome around the Lifepod. It is the safest place to learn Luca's scan loop, gather the first building materials, cure Digestive Incompatibility, and place a compact base before deeper routes begin.
Updated 2026-06-09.
Surface once, face the Lifepod, then note the black cable on the seafloor. That cable is the most reliable early landmark and keeps short oxygen loops from turning into drift.
Read Anita in NOA, then swim northeast toward Anita black box and the Angel Comb before you spend time gathering. The Digestion fix is faster than trying to survive on awkward Fabricator food during the first hour.
Waterslugs, Hammerheads, kelp species, and shallow plants are the highest-value early scans because they unlock both recipe data and the first biomod notes.
A single starter room, one locker, and a beacon are enough. Put the base near the biome edge so future runs can step into Plateaus or Graveyard routes without crossing the whole forest again.
Waterslug distillation covers thirst before your food loop is stable.
Titanium, salt, and shallow ore pockets sit within easy oxygen range of the Lifepod.
Kelp fronds and plant scans feed early crafting and biomod practice.
The forest is dense with low-risk flora and fauna entries. Scan first, harvest second.
Passive creature, early water source, and safe scan target.
Passive herbivore that appears across shallow and mid-depth vegetation zones.
Plant landmark tied to the Digestion gene and Anita black box route northeast of the Lifepod.
Fast scan-data filler and a safe way to learn the scanner rhythm.
The Kelp Forest teaches the core Subnautica 2 rhythm: oxygen loops, scan priorities, short gathering runs, and safe returns. Towering kelp gives the zone vertical cover, while the shallow depth keeps most mistakes recoverable. That makes it the right place to test tools and learn creature behavior before the map starts asking for real risk management.
Its most important early survival route is the Anita black box line: read Anita in NOA, swim northeast from the Lifepod, and use the Angel Comb to unlock Digestion. After that, keep the Lifepod and black cable as orientation references while you establish the first base and build enough supplies to leave the starter pocket cleanly.
No. It is the safest biome in Subnautica 2 at Early Access launch. Waterslugs and Hammerheads are passive, the surface is close, and dense kelp cover gives you visual breaks if a stray predator moves in from an adjacent zone.
Find the Angel Comb to cure Digestive Incompatibility, then scan Waterslugs, Hammerheads, kelp species, and easy flora within oxygen range. After that, gather enough shallow materials for a small storage base.
Yes for hour one and early session two. It has safe depth, surface access, passive creatures, and enough materials for a first habitat. Long term, build toward an edge so the base remains useful when you start travelling to deeper zones.
From the Lifepod, read Anita in NOA and swim northeast toward Anita black box. The Angel Comb sits on that route, with pale fronds and a central pod. Interacting with it grants Digestion for that save.
Waterslug, Hammerhead, Angel Comb, kelp plants, basic flora, and early debris pockets. The exact scan list will keep expanding as Early Access patches add or retune entries.
Leave after you have cured Digestive Incompatibility, scanned the passive fauna, placed a starter base or beacon, and built enough supplies to survive a return trip. For most players that is near the end of the first hour.
Use these pages with the Kelp Forest route.
Return to the Subnautica 2 biome index.
The safest Kelp Forest creature and early water source.
Passive herbivore scans across shallow and mid-depth zones.
Exact Anita black box and Digestion gene route from the Lifepod.
A safe opening route that starts in this biome.
Use reroute notes to turn Kelp Forest gathering into upgrades.