Start with the prologue, survival tools, Digestion, Welcome Center and a powered first base. Then follow Heat Tolerance and the Tadpole Pens to the Alien Ruins, where Axum Vision and the Power Plant lead to the Observatory story sequence.
This is the short, practical route chain for a new save. Each step links to the detailed guide when you need screenshots, exact room order, recipes, or hazard notes.
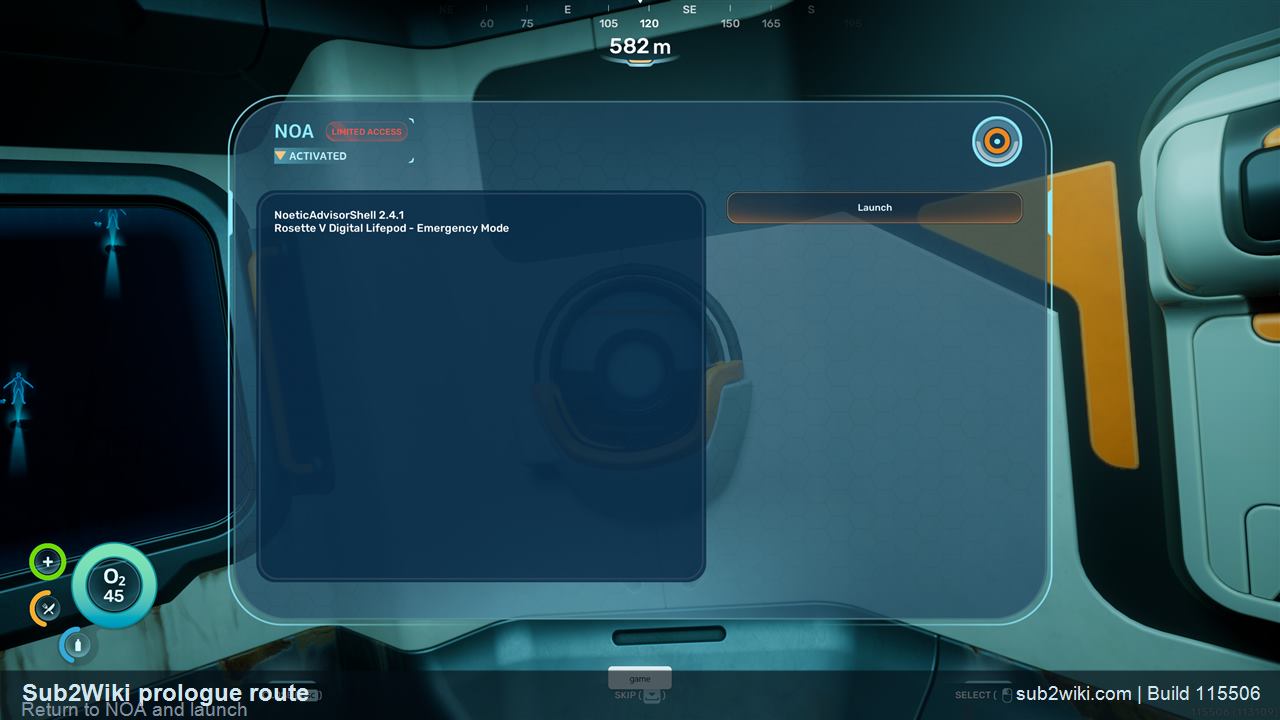
Leave the tutorial with PDA, NOA, oxygen, Pressure Tolerance, basic supplies, black box recovery, biological bed, and Launch complete.
Follow the prologue prompts in order instead of rushing outside. The important part is getting your survival systems online before the first real dive.
Swim southeast at about 150 degrees, scan the Habitat Builder fragments, restore power, and choose your first biomods.
Bring Scanner and one spare Basic Battery. Scan Habitat Builder, Dining Table, Biolab, both wall lights, and New Life Poster, then use the battery terminal to power the facility.
Habitat BuilderHatchCorridorBiolabDashSea Skimmer
Next: Do the southwest wreck immediately while you are already positioned near the Welcome Center.
Start the vehicle chain and reveal Power Cell plus Strong Acid planning before returning home.
From the Welcome Center, aim southwest between 210 and 240 degrees. At the shallow 25m wreck, scan Dive Elevator, Beacon, and one Tadpole fragment, then open the nearby supply crate.
Turn the Welcome Center route into a real, powered first base beside the Lifepod.
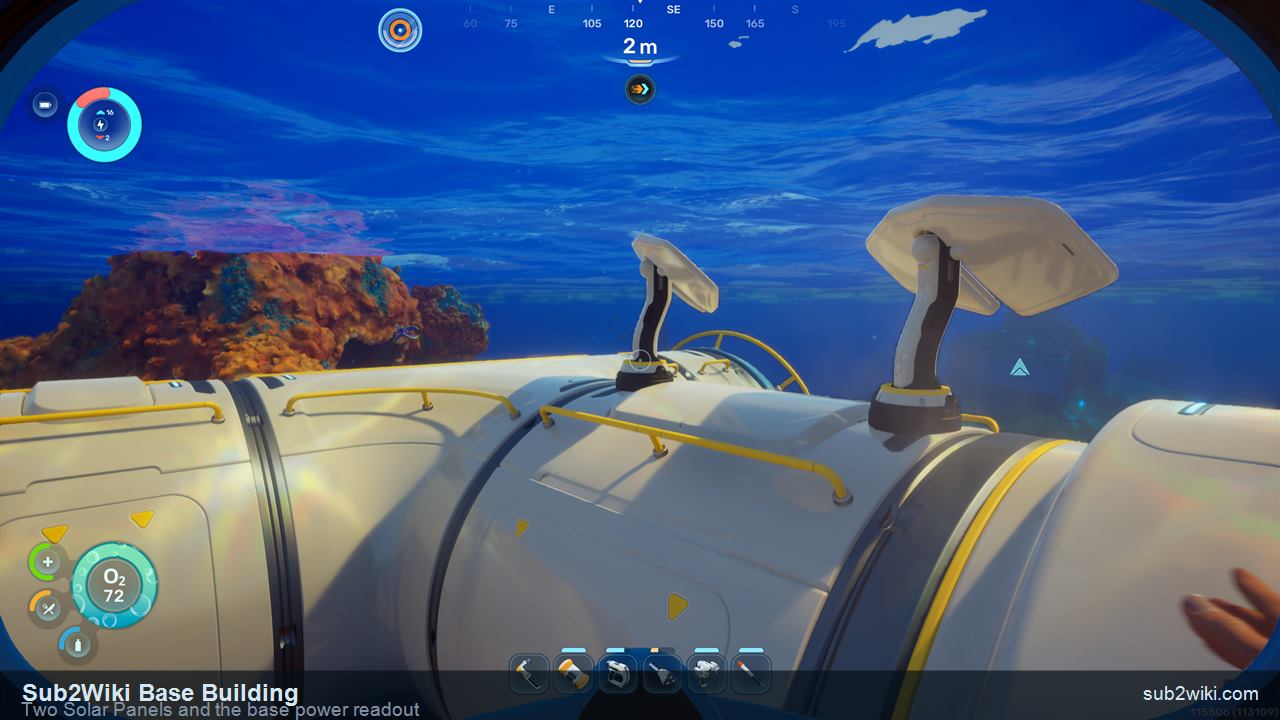
Craft Habitat Builder (2 Titanium, 1 Glass, 1 Basic Battery, 1 Copper Wire), then build corridors by the Lifepod, add a Hatch, power up with Solar Panels, and place a Fabricator with Wall Locker storage.
First base shellSolar powerWorking FabricatorStorage layout
Next: Build the Sonic Resonator, unlock Heat Tolerance, then follow the Tadpole Pens and Alien Ruins route below.
Return home after the Tadpole fragment if inventory is full or oxygen feels tight.
Collect Titanium casually on the way back, but do not turn the return trip into a deep farm.
Craft Habitat Builder before chasing later vehicle systems.
Place Beacon planning after the southwest wreck so future trips are easier to repeat.
Use the Map after you know the route target; use this page when you need the order.
Route checklist
Subnautica 2 Progression Route FAQ
What should I do first in Subnautica 2 after the prologue?
Follow a short first-hour loop: use the World Tree and compass, open storage, pin recipes, gather nearby Titanium and Quartz, make Scanner and Basic Battery planning your priority, craft Water, then move toward Flashlight and Angel Comb.
When should I go to the Welcome Center?
Go after the basic first-hour setup, Flashlight route, and Angel Comb Digestion gene if possible. Bring a Scanner and one spare Basic Battery, then swim southeast at about 150 degrees from the Lifepod.
Why does the route include Angel Comb before the Welcome Center?
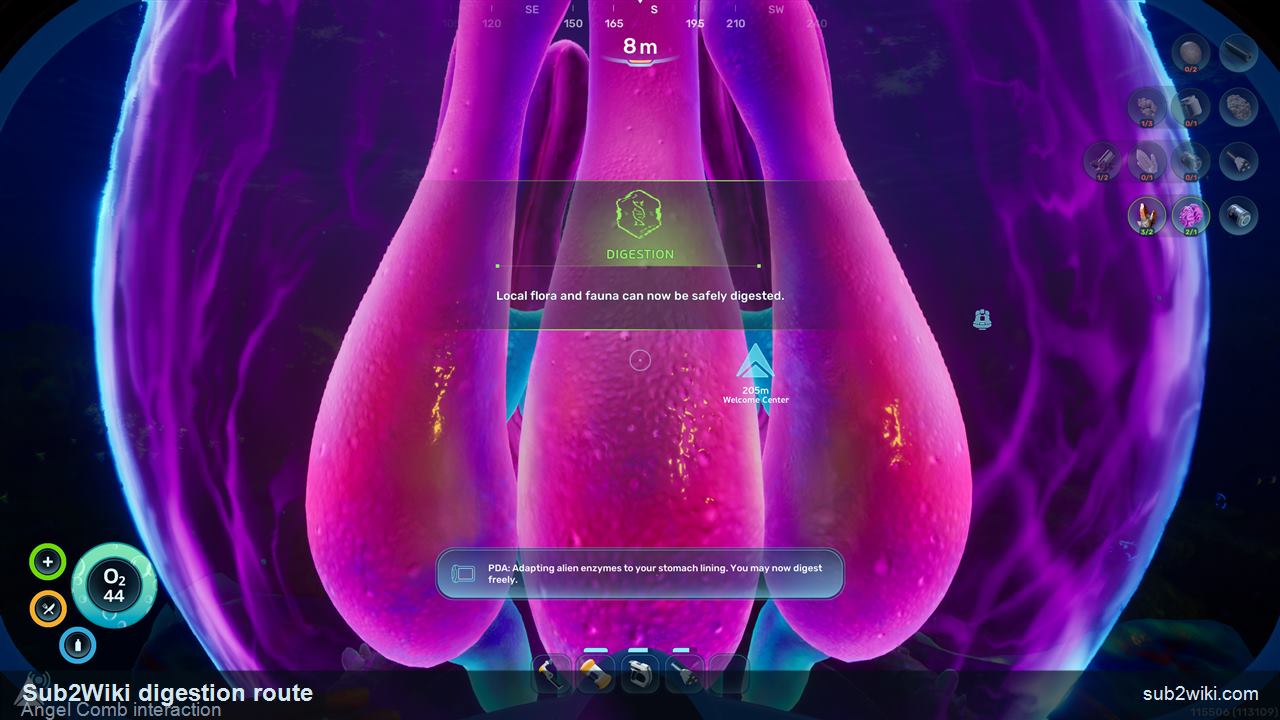
The Angel Comb route unlocks Digestion, which makes local food useful. That makes the Welcome Center and southwest wreck follow-up easier because hunger is less fragile.
Where do I get the first Tadpole progress in this route?
After the Welcome Center, swim southwest between 210 and 240 degrees to the nearby 25m wreck. Scan Dive Elevator, Beacon, and one Tadpole fragment there.
Restore the Research Station and prepare the Modification Station, Feedback Resonator and a depth-ready Tadpole. Clear the three branches and center of the Alien Ruins Angel Comb for Axum Vision, activate the lower console, repair the Power Plant turbine, finish the green control-panel sequence and enter the Observatory from its west side.
After the first base: reach the Alien Ruins
A powered base is the beginning of the next supply loop. Prepare the mining tool and environmental adaptation before taking the longer story route east.
Build the Sonic Resonator. Reserve 2 Lead, 2 Titanium Ingots, 1 Wiring Kit and 1 Basic Battery after unlocking the tool.
Unlock Heat Tolerance. Use the Resonator to clear the northwest Angel Comb. The earlier northeast Digestion unlock does not provide heat protection.
Prepare oxygen and vehicle power. Use the Lithium route for upgrade materials and Salt route for Power Cell supplies. Gather Sulfur for Repair Tool preparation and Gold as your electronics require it.
Investigate the Tadpole Pens. Follow the Hot Caves route for Zip's black box, return to the locked door and complete the facility interactions.
Cross to the Alien Ruins. Bring second-base materials and a spare battery, restore the Research Station, speak to NOA and scan the Modification Station.
Return to resupply between these stages. The Zip cave swim and the later gorge crossing need separate oxygen, repair and battery budgets.
Later story route · spoilers for objectives
After Alien Ruins: Power Plant and Observatory
The next objective is restoring power to the Observatory. Use the Research Station as a supply stop, then complete these stages in order.
Prepare the Feedback Resonator and vehicle depth. Its ranged shot can hit the closing flowers in the deeper comb. The green-pool scan route starts east of the station and follows the purple tubes through the ravine.
Claim Axum Vision. Clear the three Angel Comb branches below the station, in the side ravine and beneath the wreck. Clear the central chamber afterward and interact with the opened comb.
Activate the lower console and locate the turbine. Use the room overlooking the comb, then ascend to the Power Plant’s ring. The damaged turbine is on its east side, near crates and a blue light.
Repair the turbine with the Habitat Builder. Check its active construction panel before the supply run. The turbine budget separates the finished ingots from their raw materials and from your tool-upgrade costs.
Restart the plant. In the room opposite the turbine, adjust the individual dials and sliders until they turn green, then use the central console.
Enter the Observatory. Return to the tower near the Research Station, circle around to its west side and use the open doorway. Operate the lever inside to continue the story sequence.
The May 2026 Early Access walkthrough ends with this Observatory sequence. The roadmap tracks announcements for the next story expansion.